Verbal Support
Instructional articles & technical support 👋
Using Verbal with Zoom
Verbal can be used with Zoom in real-time during calls and to record them into Verbal for transcription, analysis, and summarization. You must be signed into your Zoom account. You must also be signed into a Verbal account that is configured to be used with Zoom.
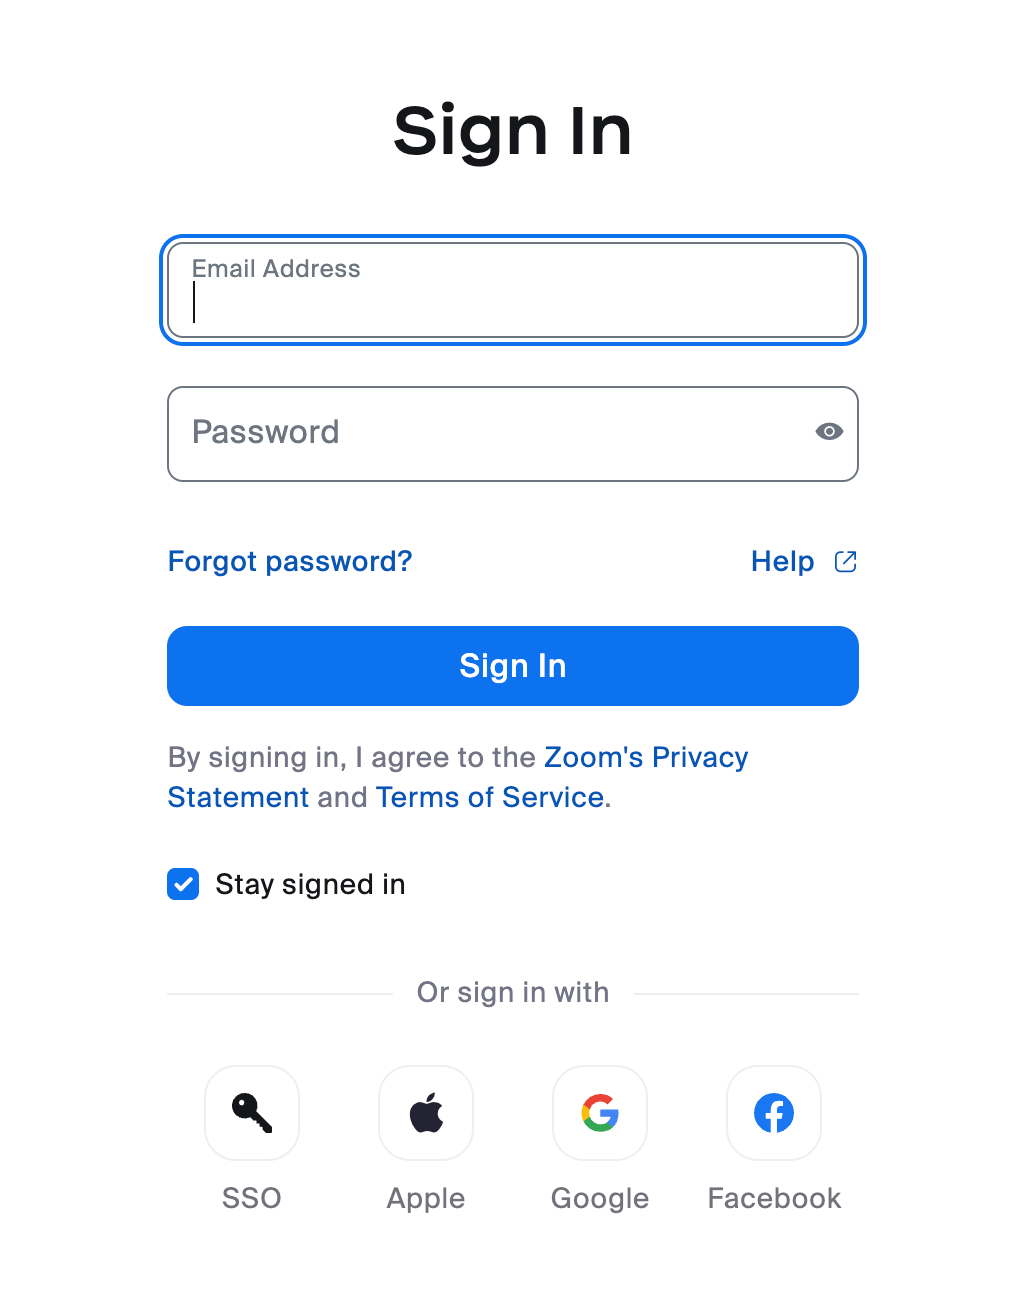
Step 1: Sign in to Verbal
- Go to app.tryverbal.com using the same browser you use with Zoom
- Sign in to your Verbal account using your organizations method(Email/Password, Google SSO, Salesforce SSO)
- Do not close the browser window displaying Verbal
Note: Your Verbal account must be previously configured to be used with Zoom based on your organization’s preferences. Your sign in method and email must be the same on Verbal and Zoom.
If you don’t know your organizations method, or your own credentials, contact your manager.
Step 2: Sign in to Zoom
- Once signed into Verbal, you will be directed to the Zoom sign in page (if you are not already signed in to Zoom).
- Sign in to Zoom using your normal method.
Step 3. Add Verbal to Zoom
The first time you sign in to Verbal, you will be prompted to add Verbal to allow access to your Zoom account.
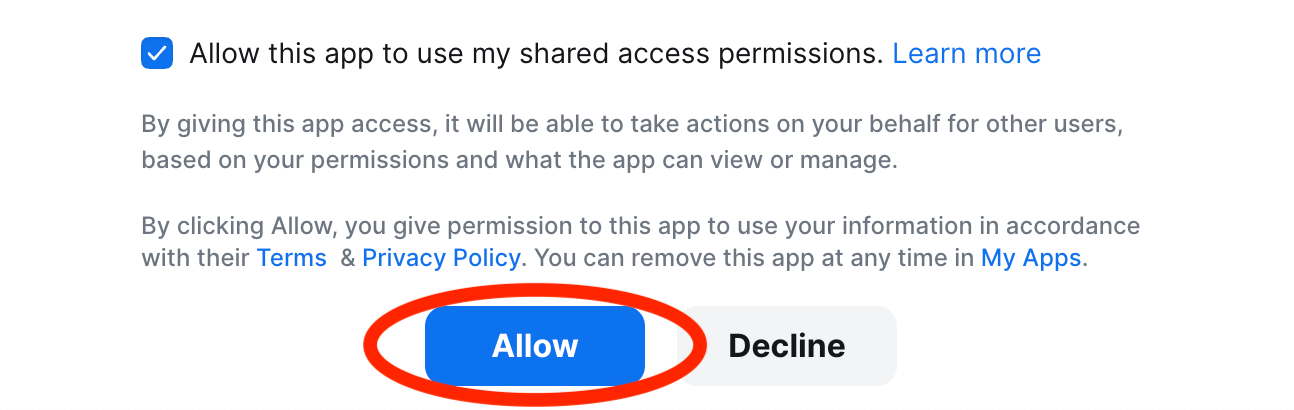
- Check the box that says “Allow this app to use my shared access permissions” (optional)
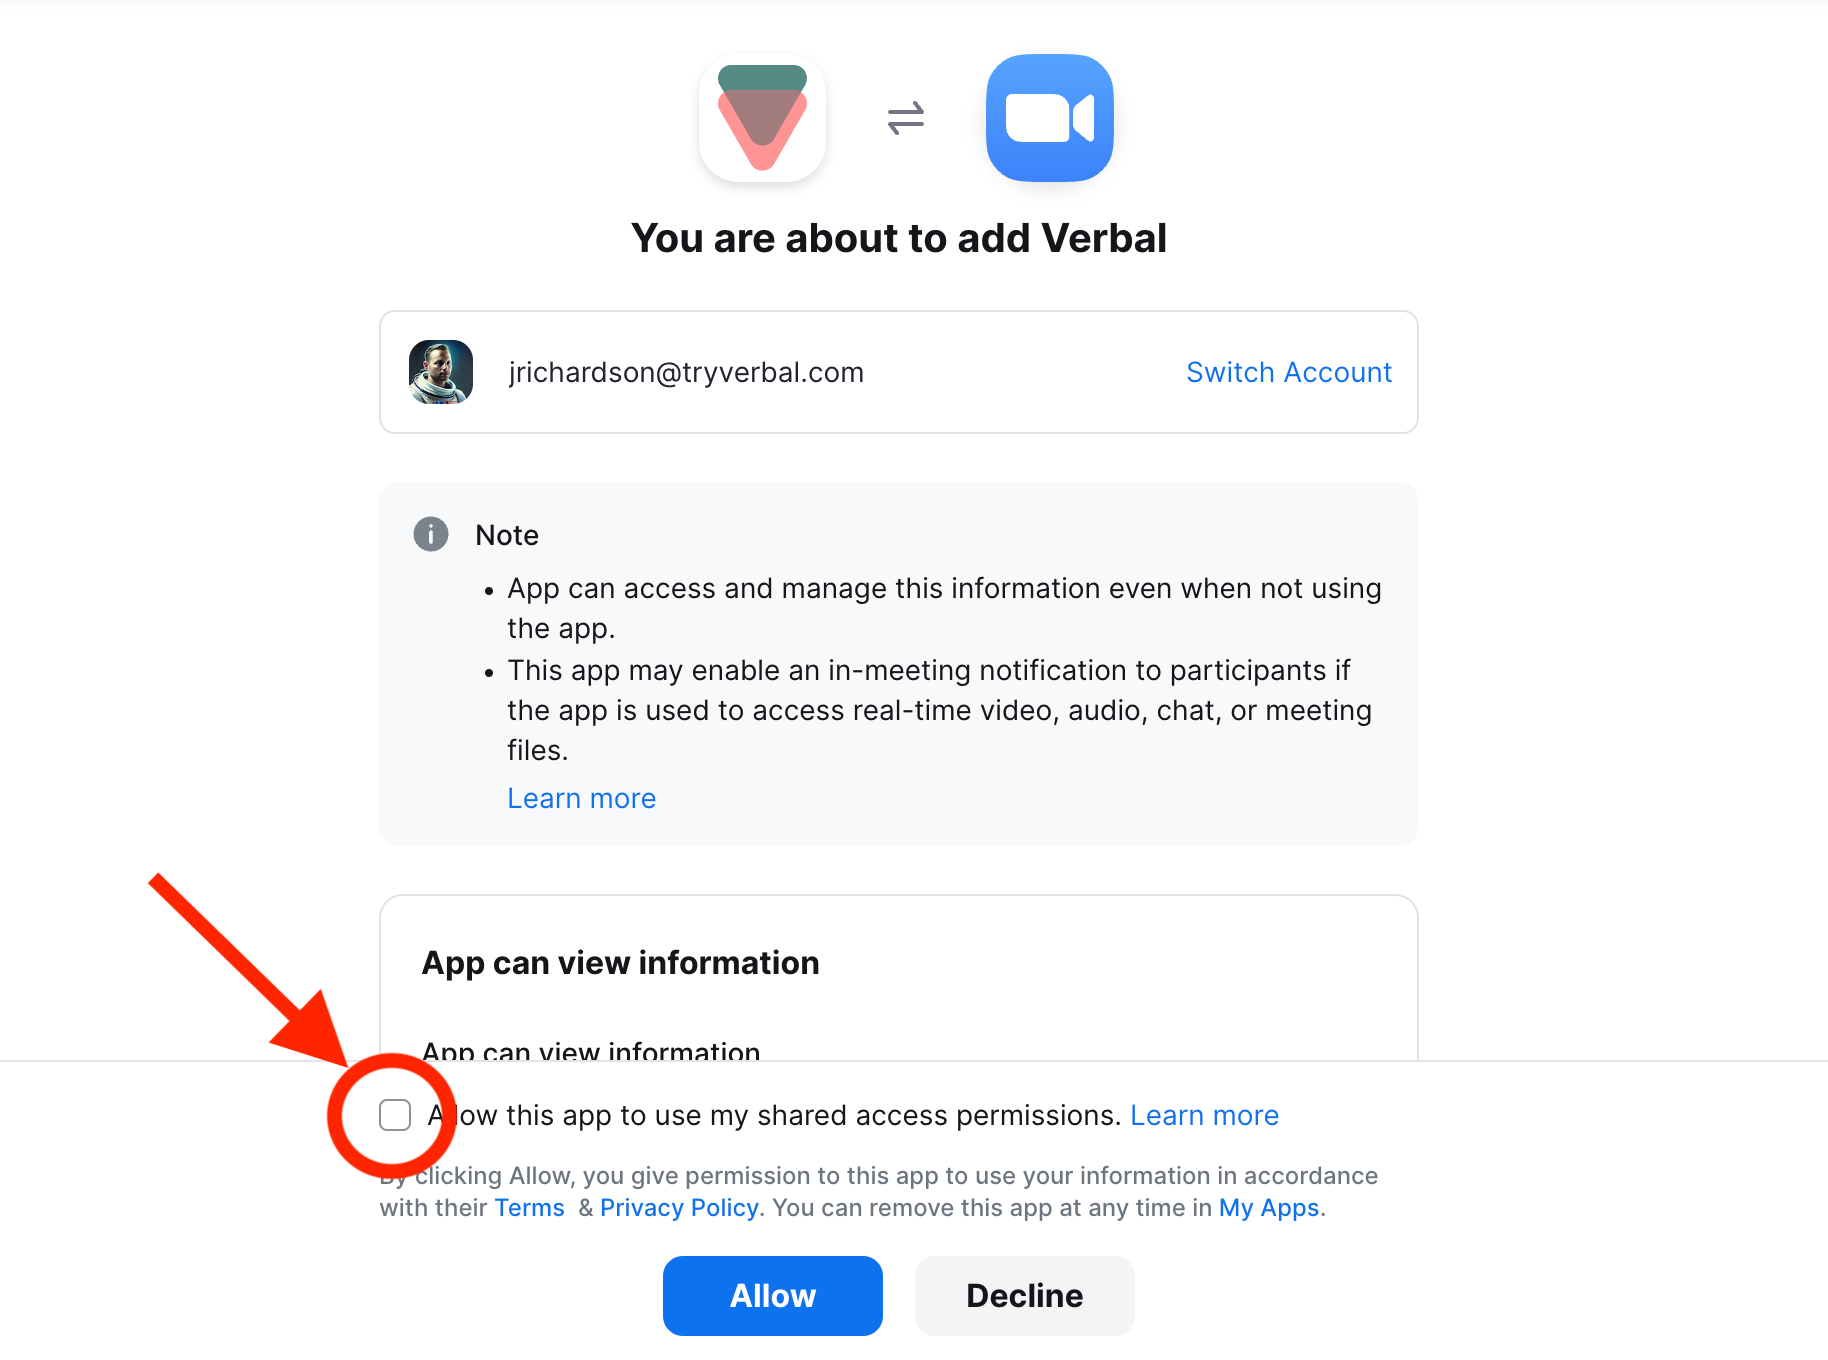
- Click "Allow"
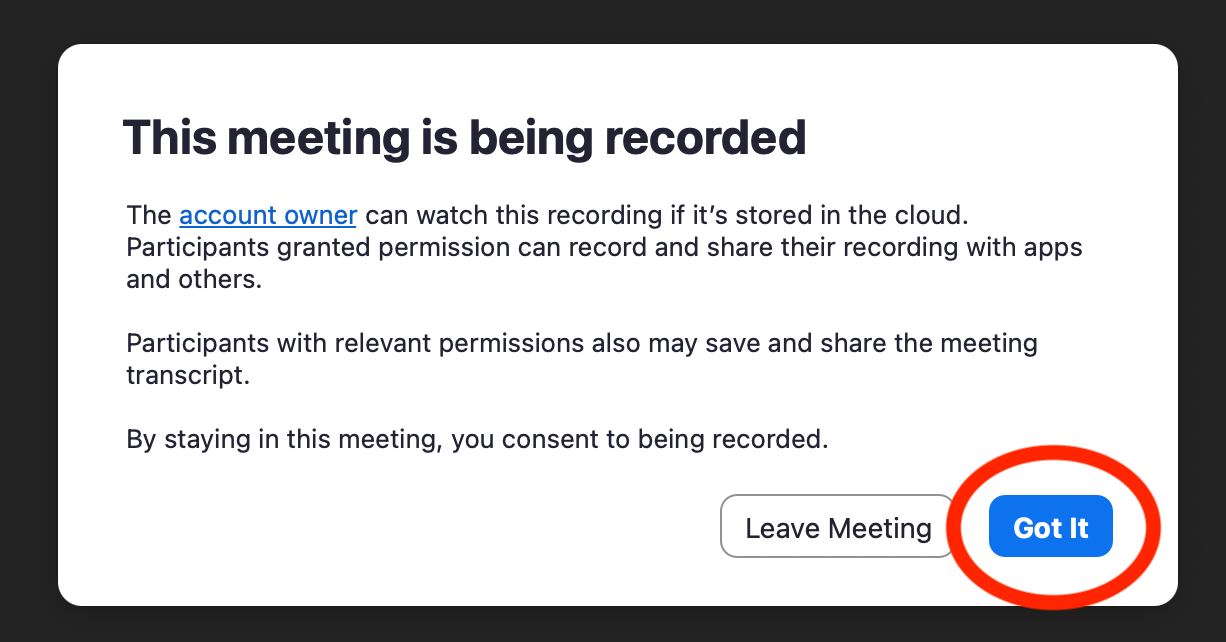
Step 4: Start your Zoom meeting
- Initiate your Zoom meeting however you normally do. Either through the Zoom application or zoom.us on your browser.
- You will see a prompt that informs you that the meeting is being recorded. Click “Got It” to proceed.
You (and anyone else that joins the meeting) will also see third party called “Notetaker"
Step 5: See your meeting in Verbal
- During your Zoom meeting, return to the browser window displaying Verbal to see the meeting in real-time. The call will be transcribed. If your organization utilizes checklists, it will also be analyzed for checklist completion.
Step 6 (optional): If needed, pause recording the call into Verbal
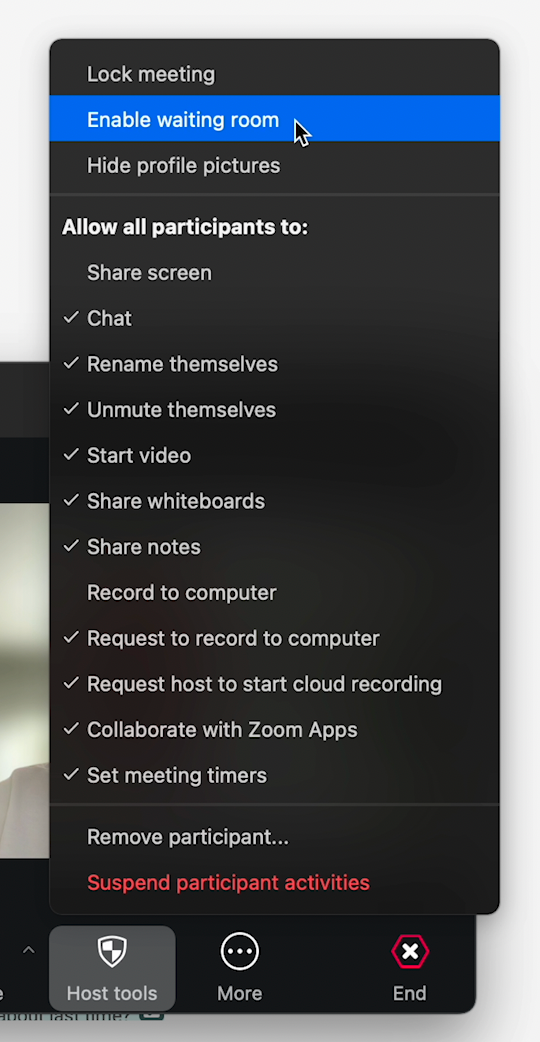
- Click “Host Tools” at the bottom of you Zoom Meeting
- If not already checked, enable the waiting room by clicking “Enable waiting room”
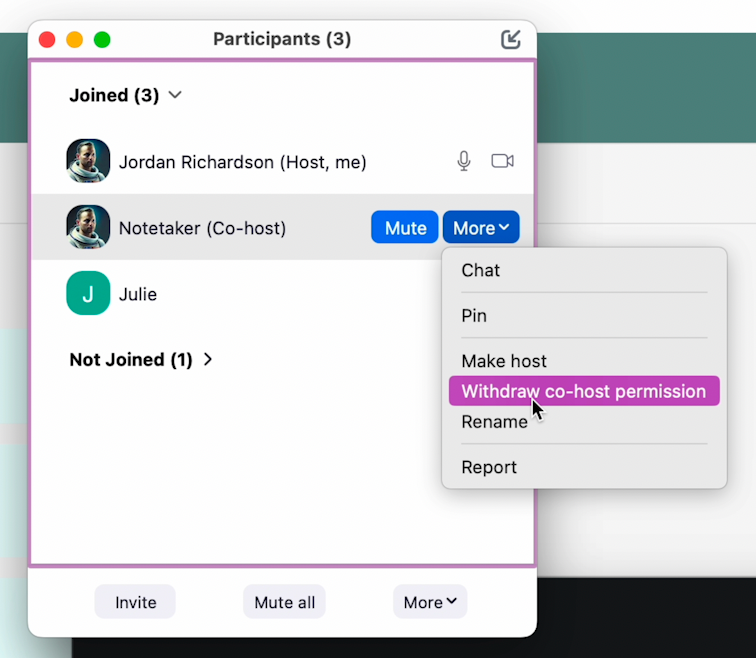
- Click on the “Participants” tab at the bottom of your Zoom meeting
- Locate the “Notetaker” participant, beside it, click “More”, then click “Remove co-host permission”
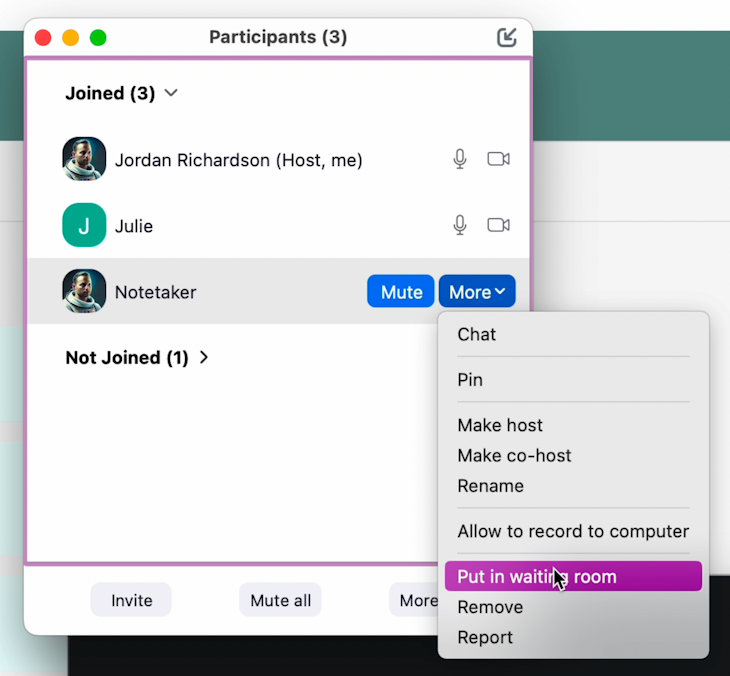
- Beside the “Notetaker” participant, click “More” again, then click “Put in waiting room”
- To resume the Verbal recording, click “Admit” next to the “Notetaker” participant.
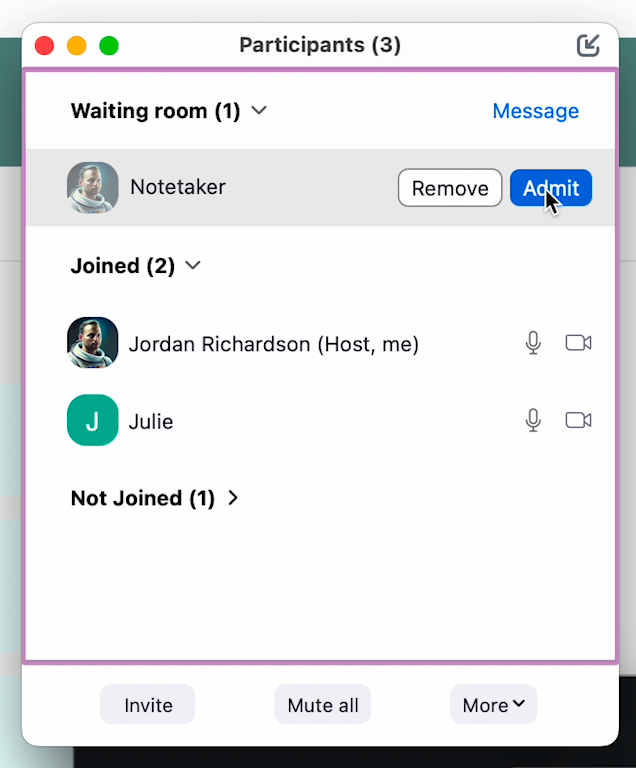
- Then click “Allow recording”
Step 7 (optional): If needed, end recording the call into Verbal
- Click on the “Participants” tab at the bottom of your Zoom meeting
- Locate the “Notetaker” participant, beside it, click “More”, then click “Remove”

Step 6: End your Zoom meeting
- End your Zoom meeting as you normally do. The session will also be ended in Verbal automatically.
- Return to the browser window displaying Verbal. You will see the complete transcript. If your organization utilizes summaries, you will also see a summary of the meeting. If your organization utilizes checklists, you will also see along with the checklist completion status.