Verbal Support
Using the Verbal Chrome extension
The Verbal Chrome Extension can be used to record calls/meetings into Verbal, using any call platform that can run inside of a web browser. You must use Google Chrome as your web browser in order to use the Verbal Chrome Extension. You must also be signed into your Google account and an associated Verbal account that is configured to use the Verbal Chrome Extension.
Step 1: Download and install the extension
- Click here to access the Verbal Chrome Extension
- Click “Add to Chrome”
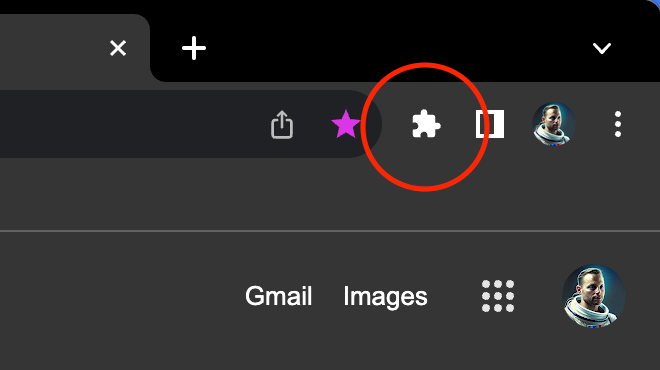
Step 2: “Pin” the extension for easy access
- Click on the “puzzle” icon in the upper-right corner of a Google Chrome window
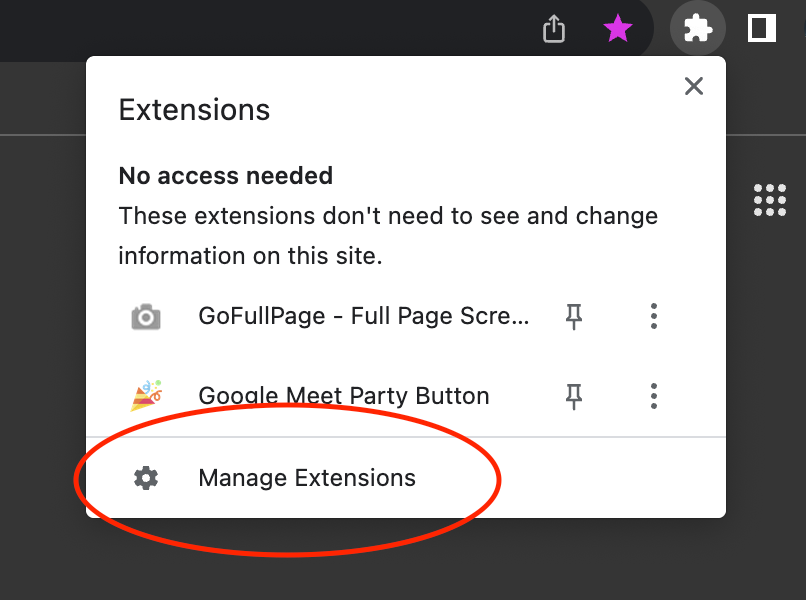
- Click “Manage Extensions”
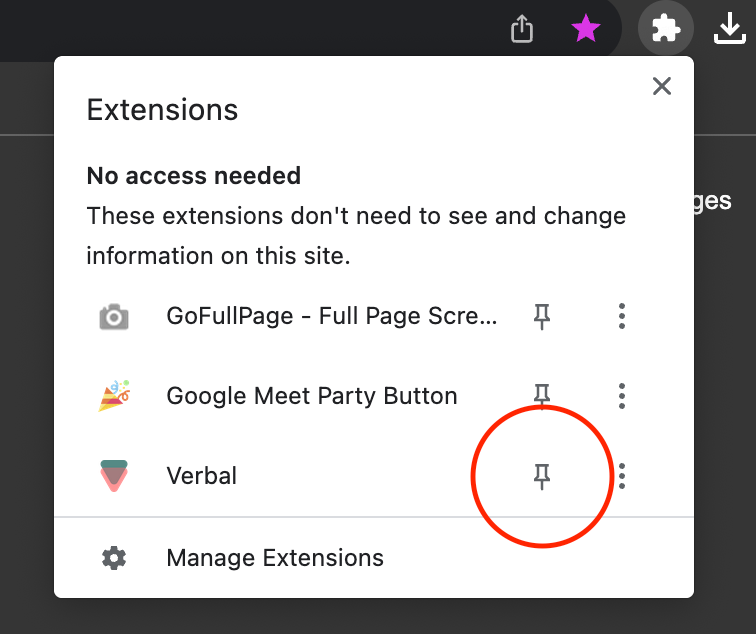
- Click the “pin” icon next to the Verbal extension
Step 3: Open the Verbal Chrome Extension / Sign in to Verbal
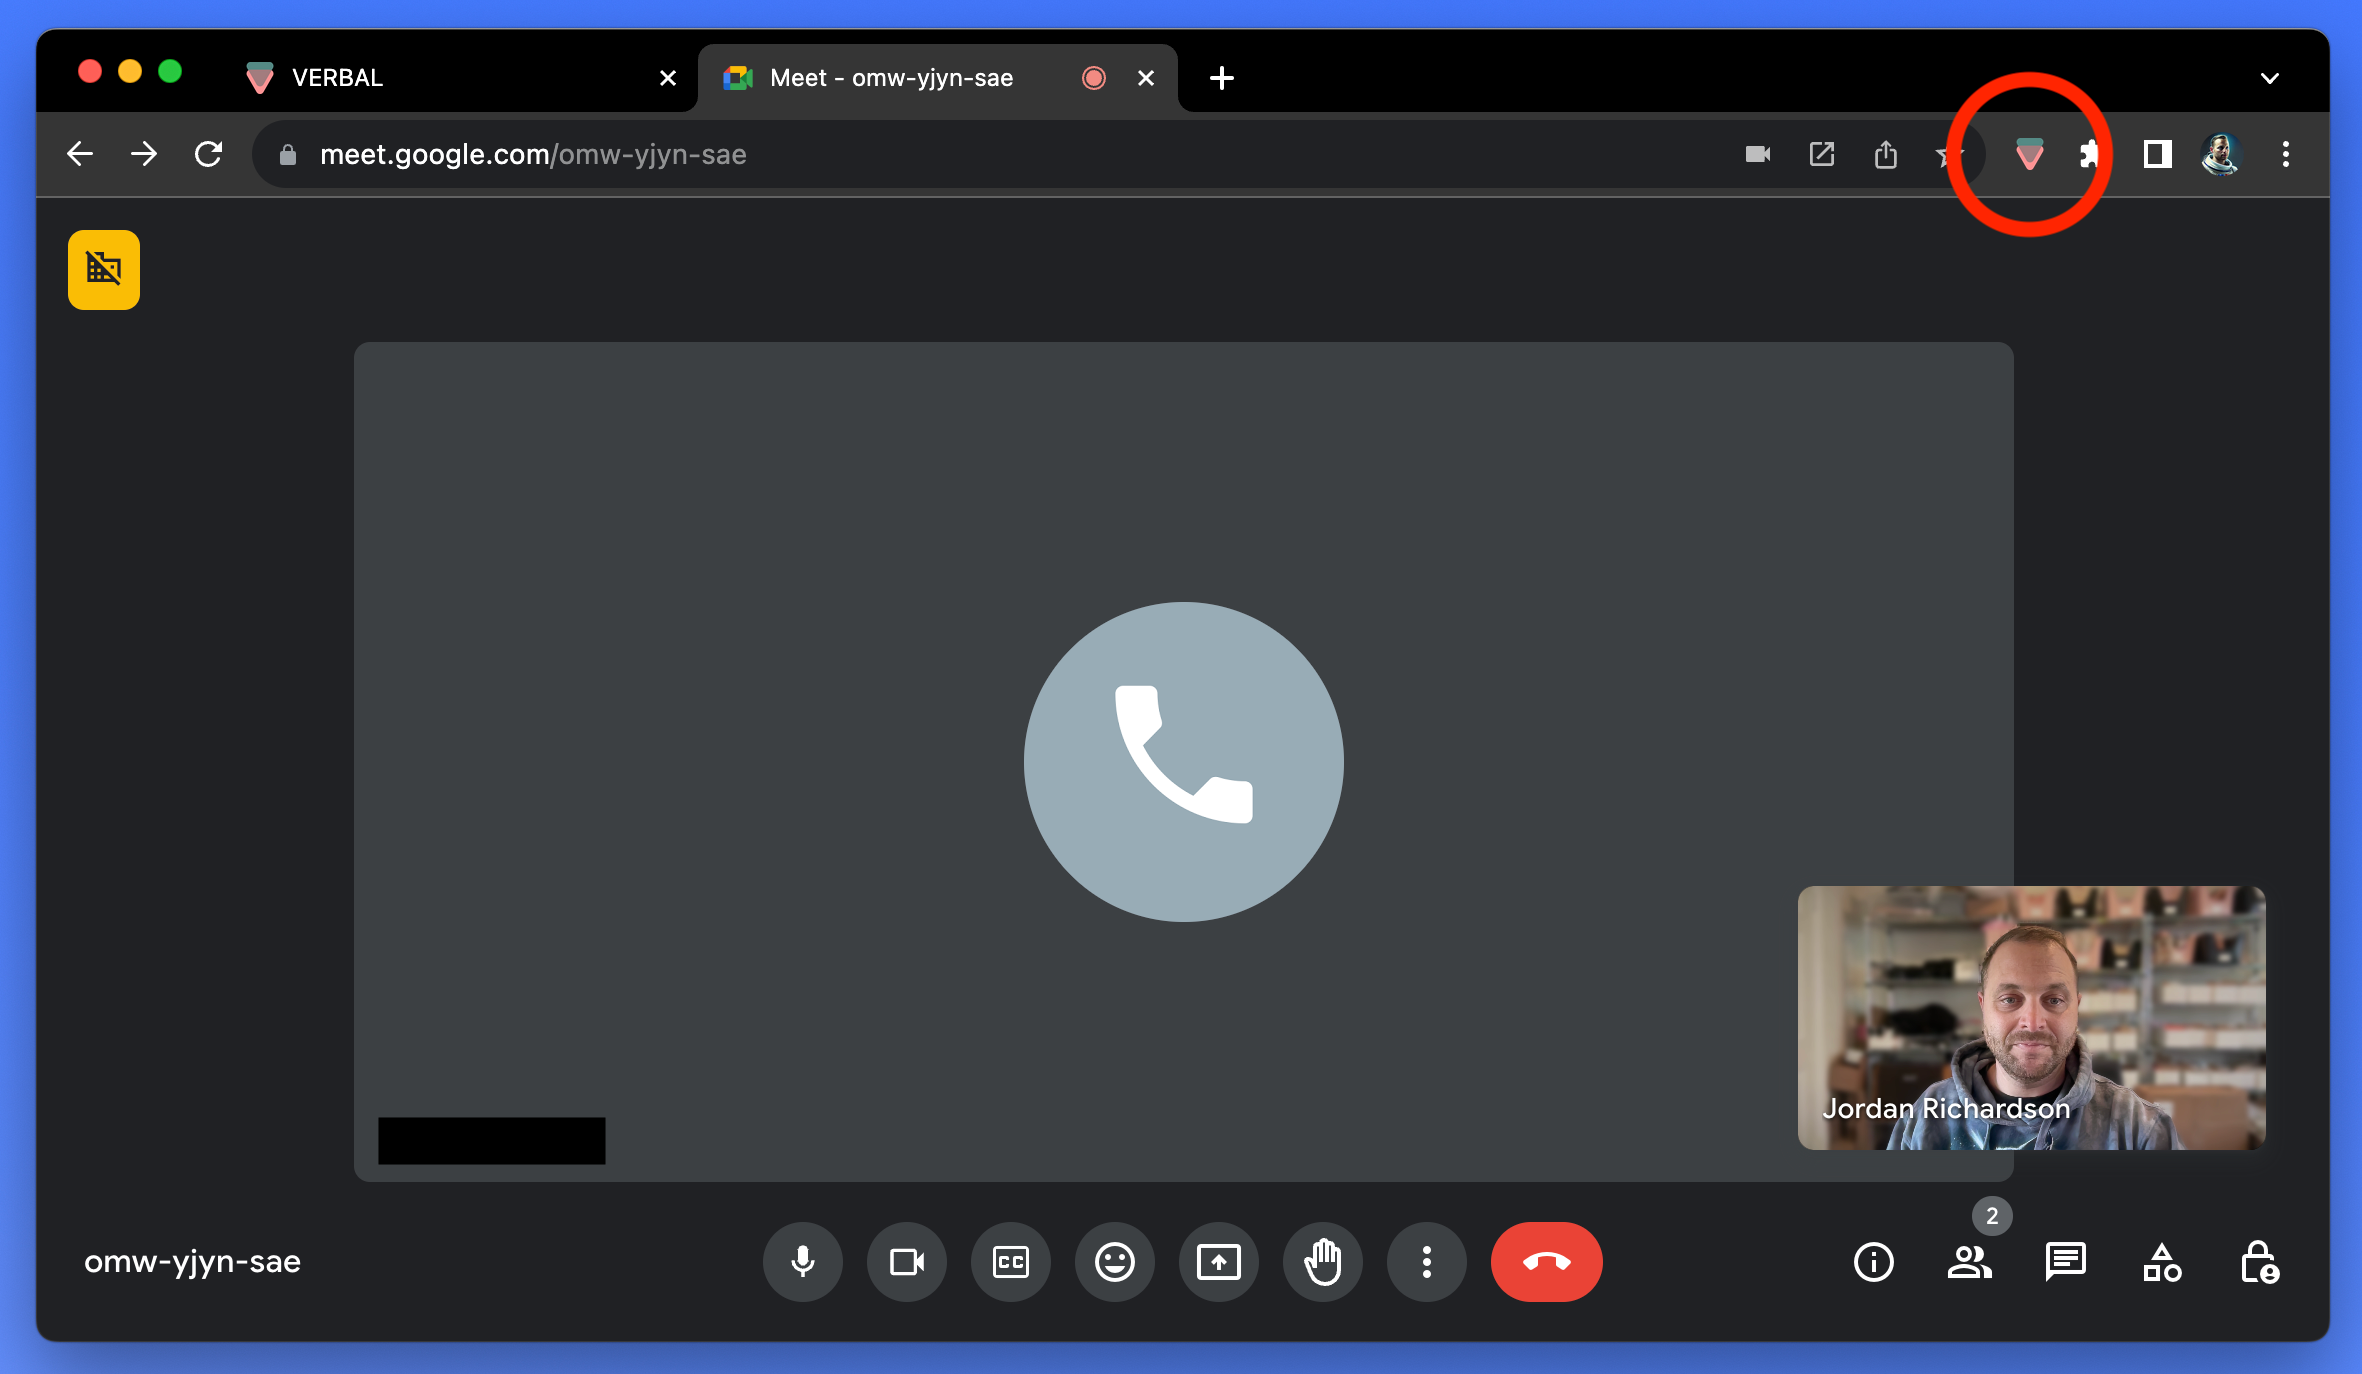
- Click on the Verbal icon that you should now see in the upper right corner of your Chrome window
If you are not already signed in to Verbal, this will open a new Chrome tab displaying the Verbal homepage (app.tryverbal.com). If you are already signed in to Verbal, skip to step #5.
Step 4: Sign in to Verbal
- Sign in to your Verbal account using your organizations method
(Email/Password, Google SSO, Salesforce SSO)
If you don’t know your organizations method, or your own credentials, contact your manager.
Step 5: Place your call or initiate your meeting
- Using Google Chrome, open whatever platform your organization uses to handle calls or meetings.
- Begin your call or meeting
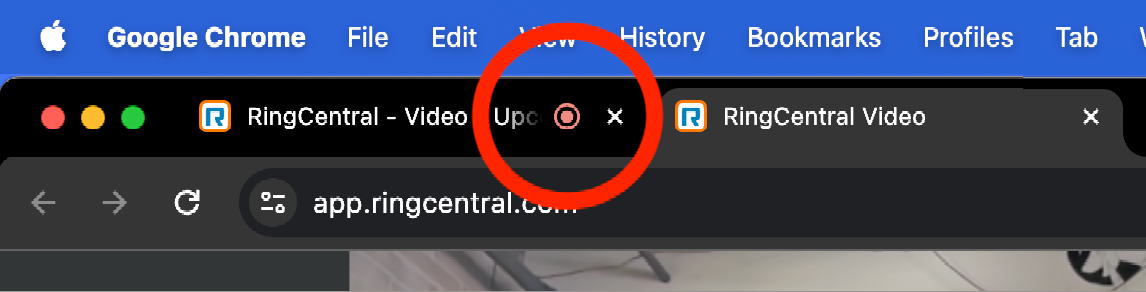
Step 6: Open the Verbal Chrome Extension in the tab with the “red dot”
- Depending on your communication platform, Chrome may process audio on different tabs. Most of the time, it the same tab that displays your meeting. Look for the “red dot” on the right side of the tabs to be sure and go to this tab.
- Click on the Verbal Chrome Extension to open it on the same tab as the “red dot”
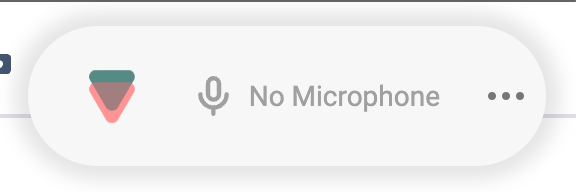
Step 7: Grant microphone permission (if prompted)
- You may (or may not) be prompted to allow access your system’s microphone. If so, click “Allow”

Step 8: Record your call or meeting into Verbal
- Click “START” on the Verbal Chrome Extension to begin recording the call or meeting into Verbal.
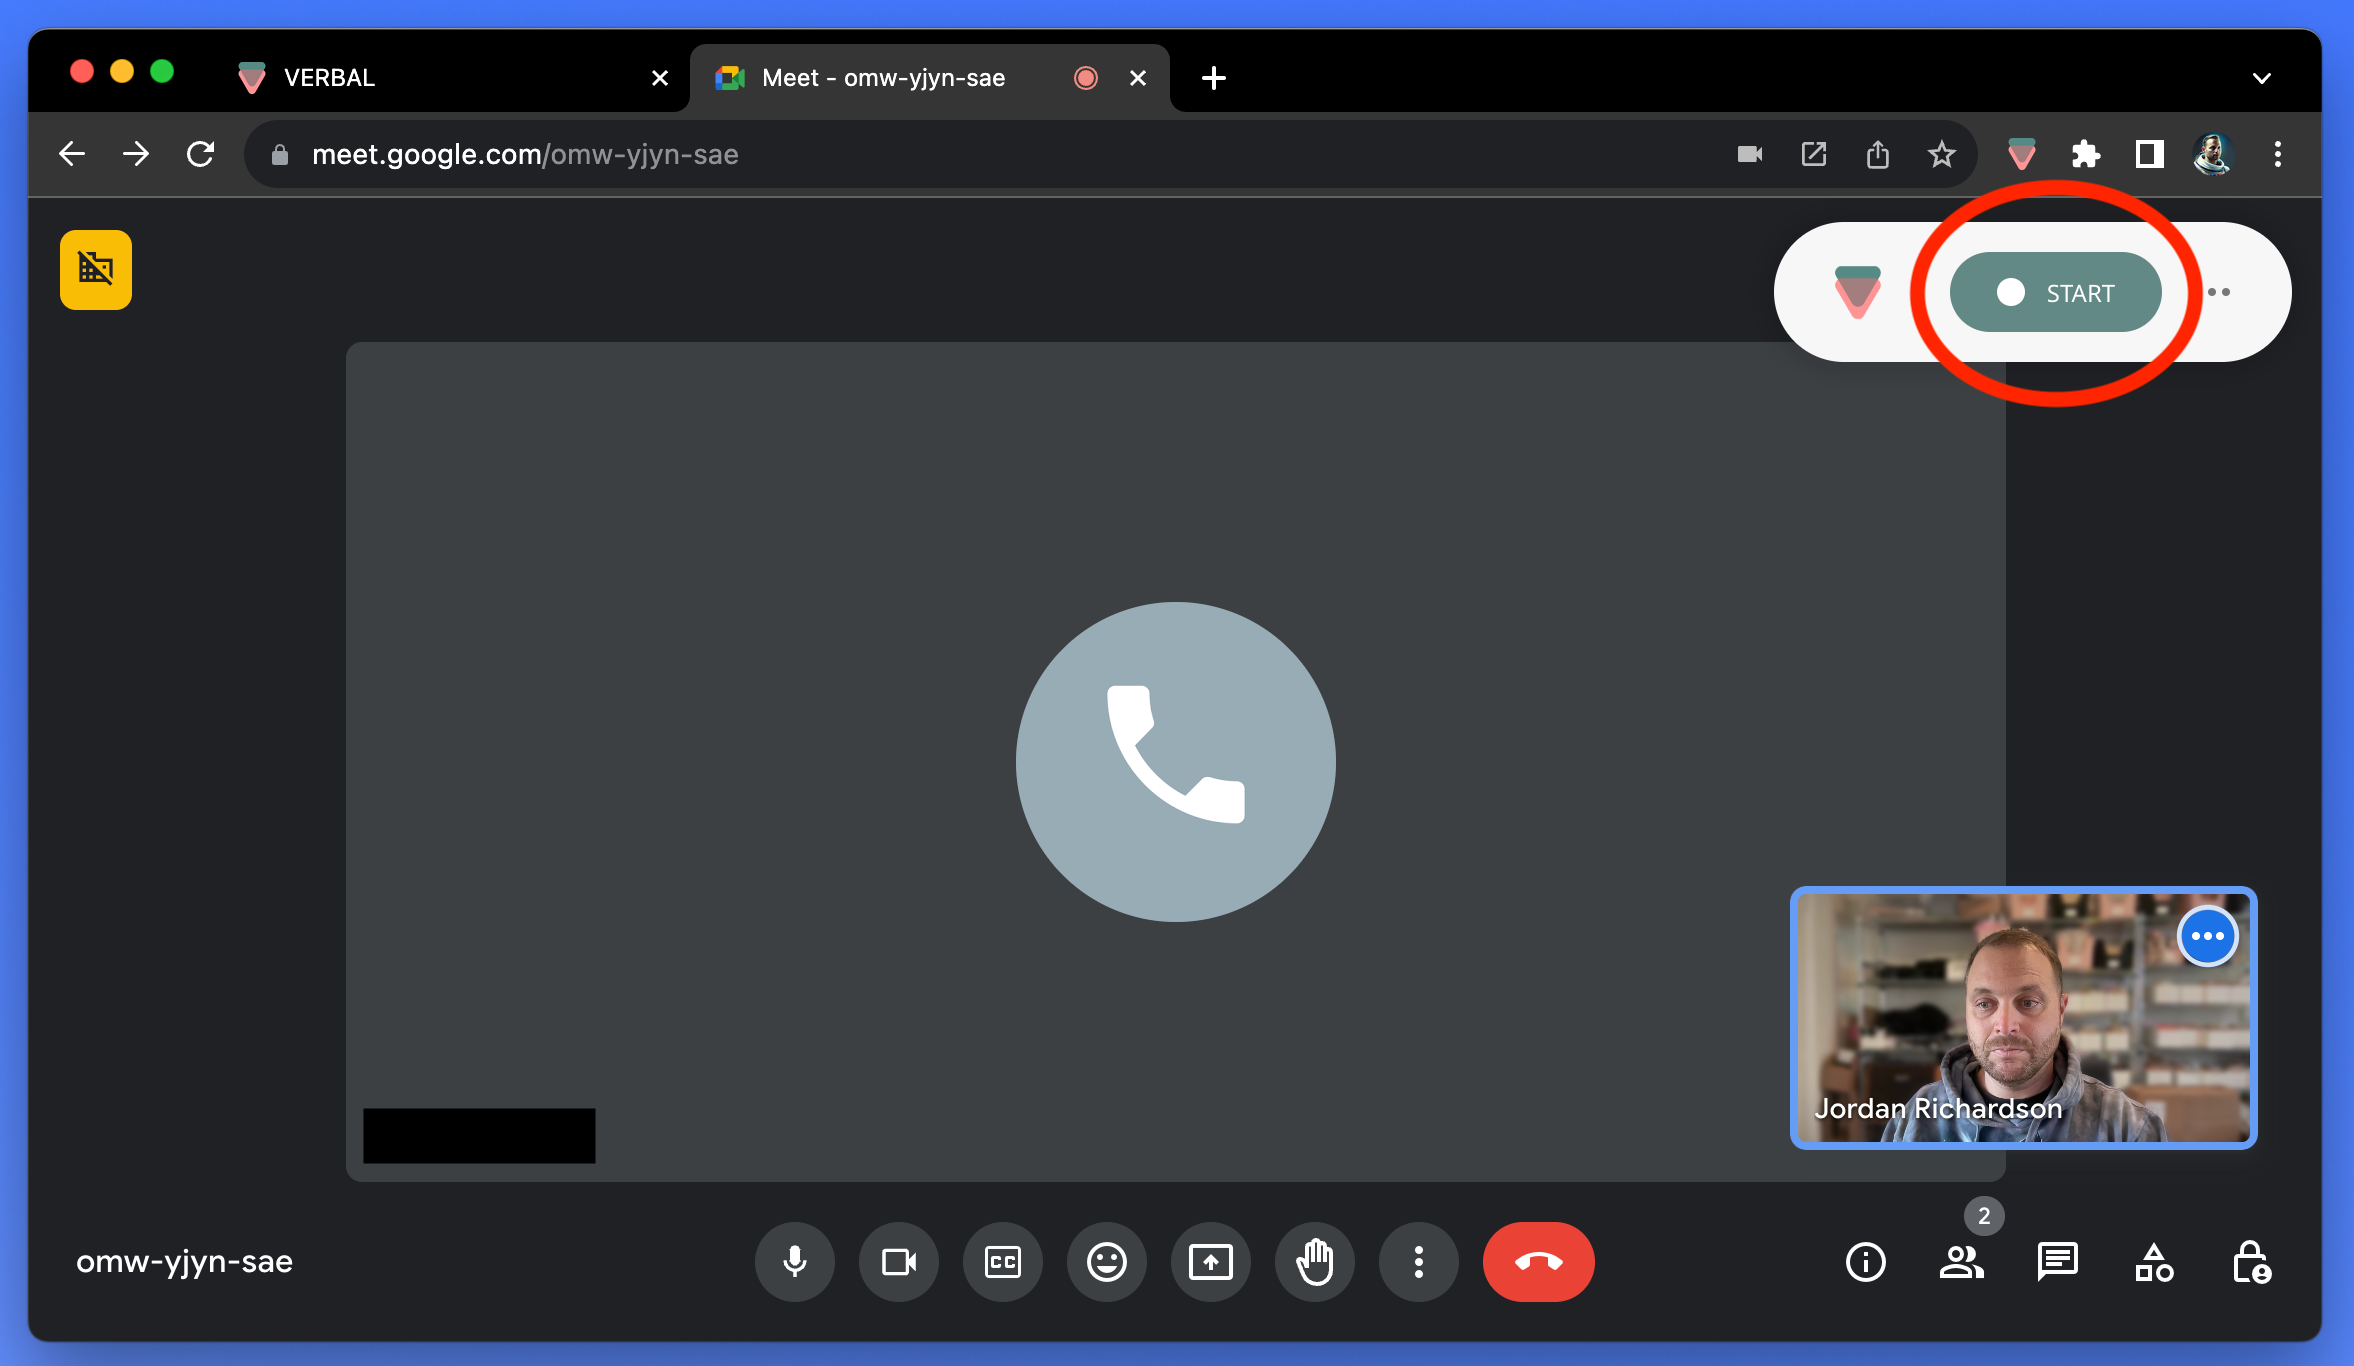
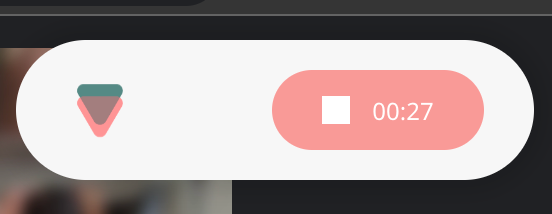
You will see the button change into a “STOP” button with the duration timer. This means the call or meeting is being recorded into Verbal.
During the conversation, you can choose to switch back to the Verbal tab or place it beside your call window so that you can view the call in Verbal.
Once signed in, it is not required that Verbal be open for the extension to function. It can be used independently.
Step 9: Stop the Verbal recording
- Click the red “Stop” button to end the Verbal recording
Clicking this red “Stop” button will end the Verbal recording but not the call or meeting itself. Conversely, ending the call or meeting itself will not end the Verbal recording.
Step 10: End the call or meeting itself
- End the call or meeting using whatever platform your organization uses
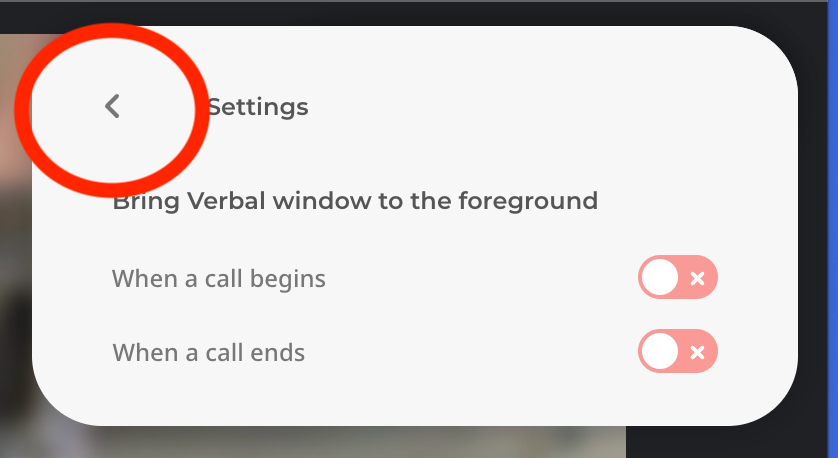
Step 11: Optional settings
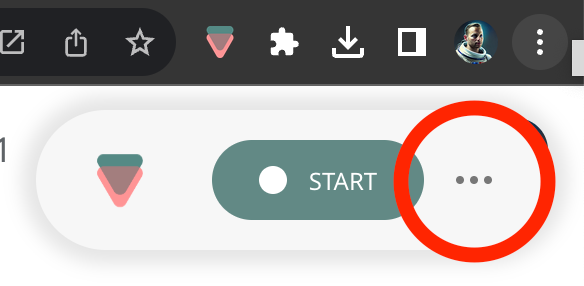
- Open the Verbal Chrome Extension settings by clicking on the “three dots” button on the right side. This cannot be accessed while a recording is in progress.
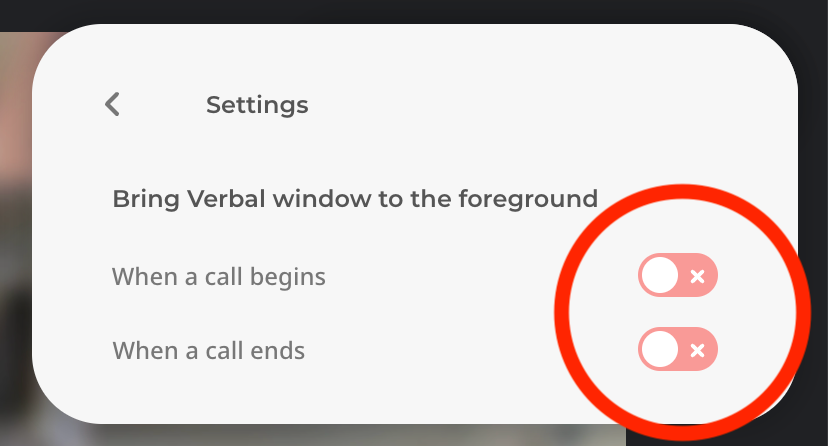
The extension can be configured to force the Chrome tab or window that contains Verbal to come to the foreground when a Verbal recording is initiated and/or when it is ended. Click either of these toggles to turn on this feature according to your preference.
- Return to the home screen by clicking the “Back” arrow