Verbal Support
Enabling multi call-type providers
Organizations may have multiple call-types. They can also designate which providers are able to handle which types of calls. This can be controlled on an individual basis and can be done when inviting the provider(s) to Verbal, or it can be changed later.
Step 1: Sign in to Verbal as a Manager
- Use your organization’s preferred sign in method to sign in to Verbal using your manager account. If you don’t know your sign in method or credentials, contact your administrator.
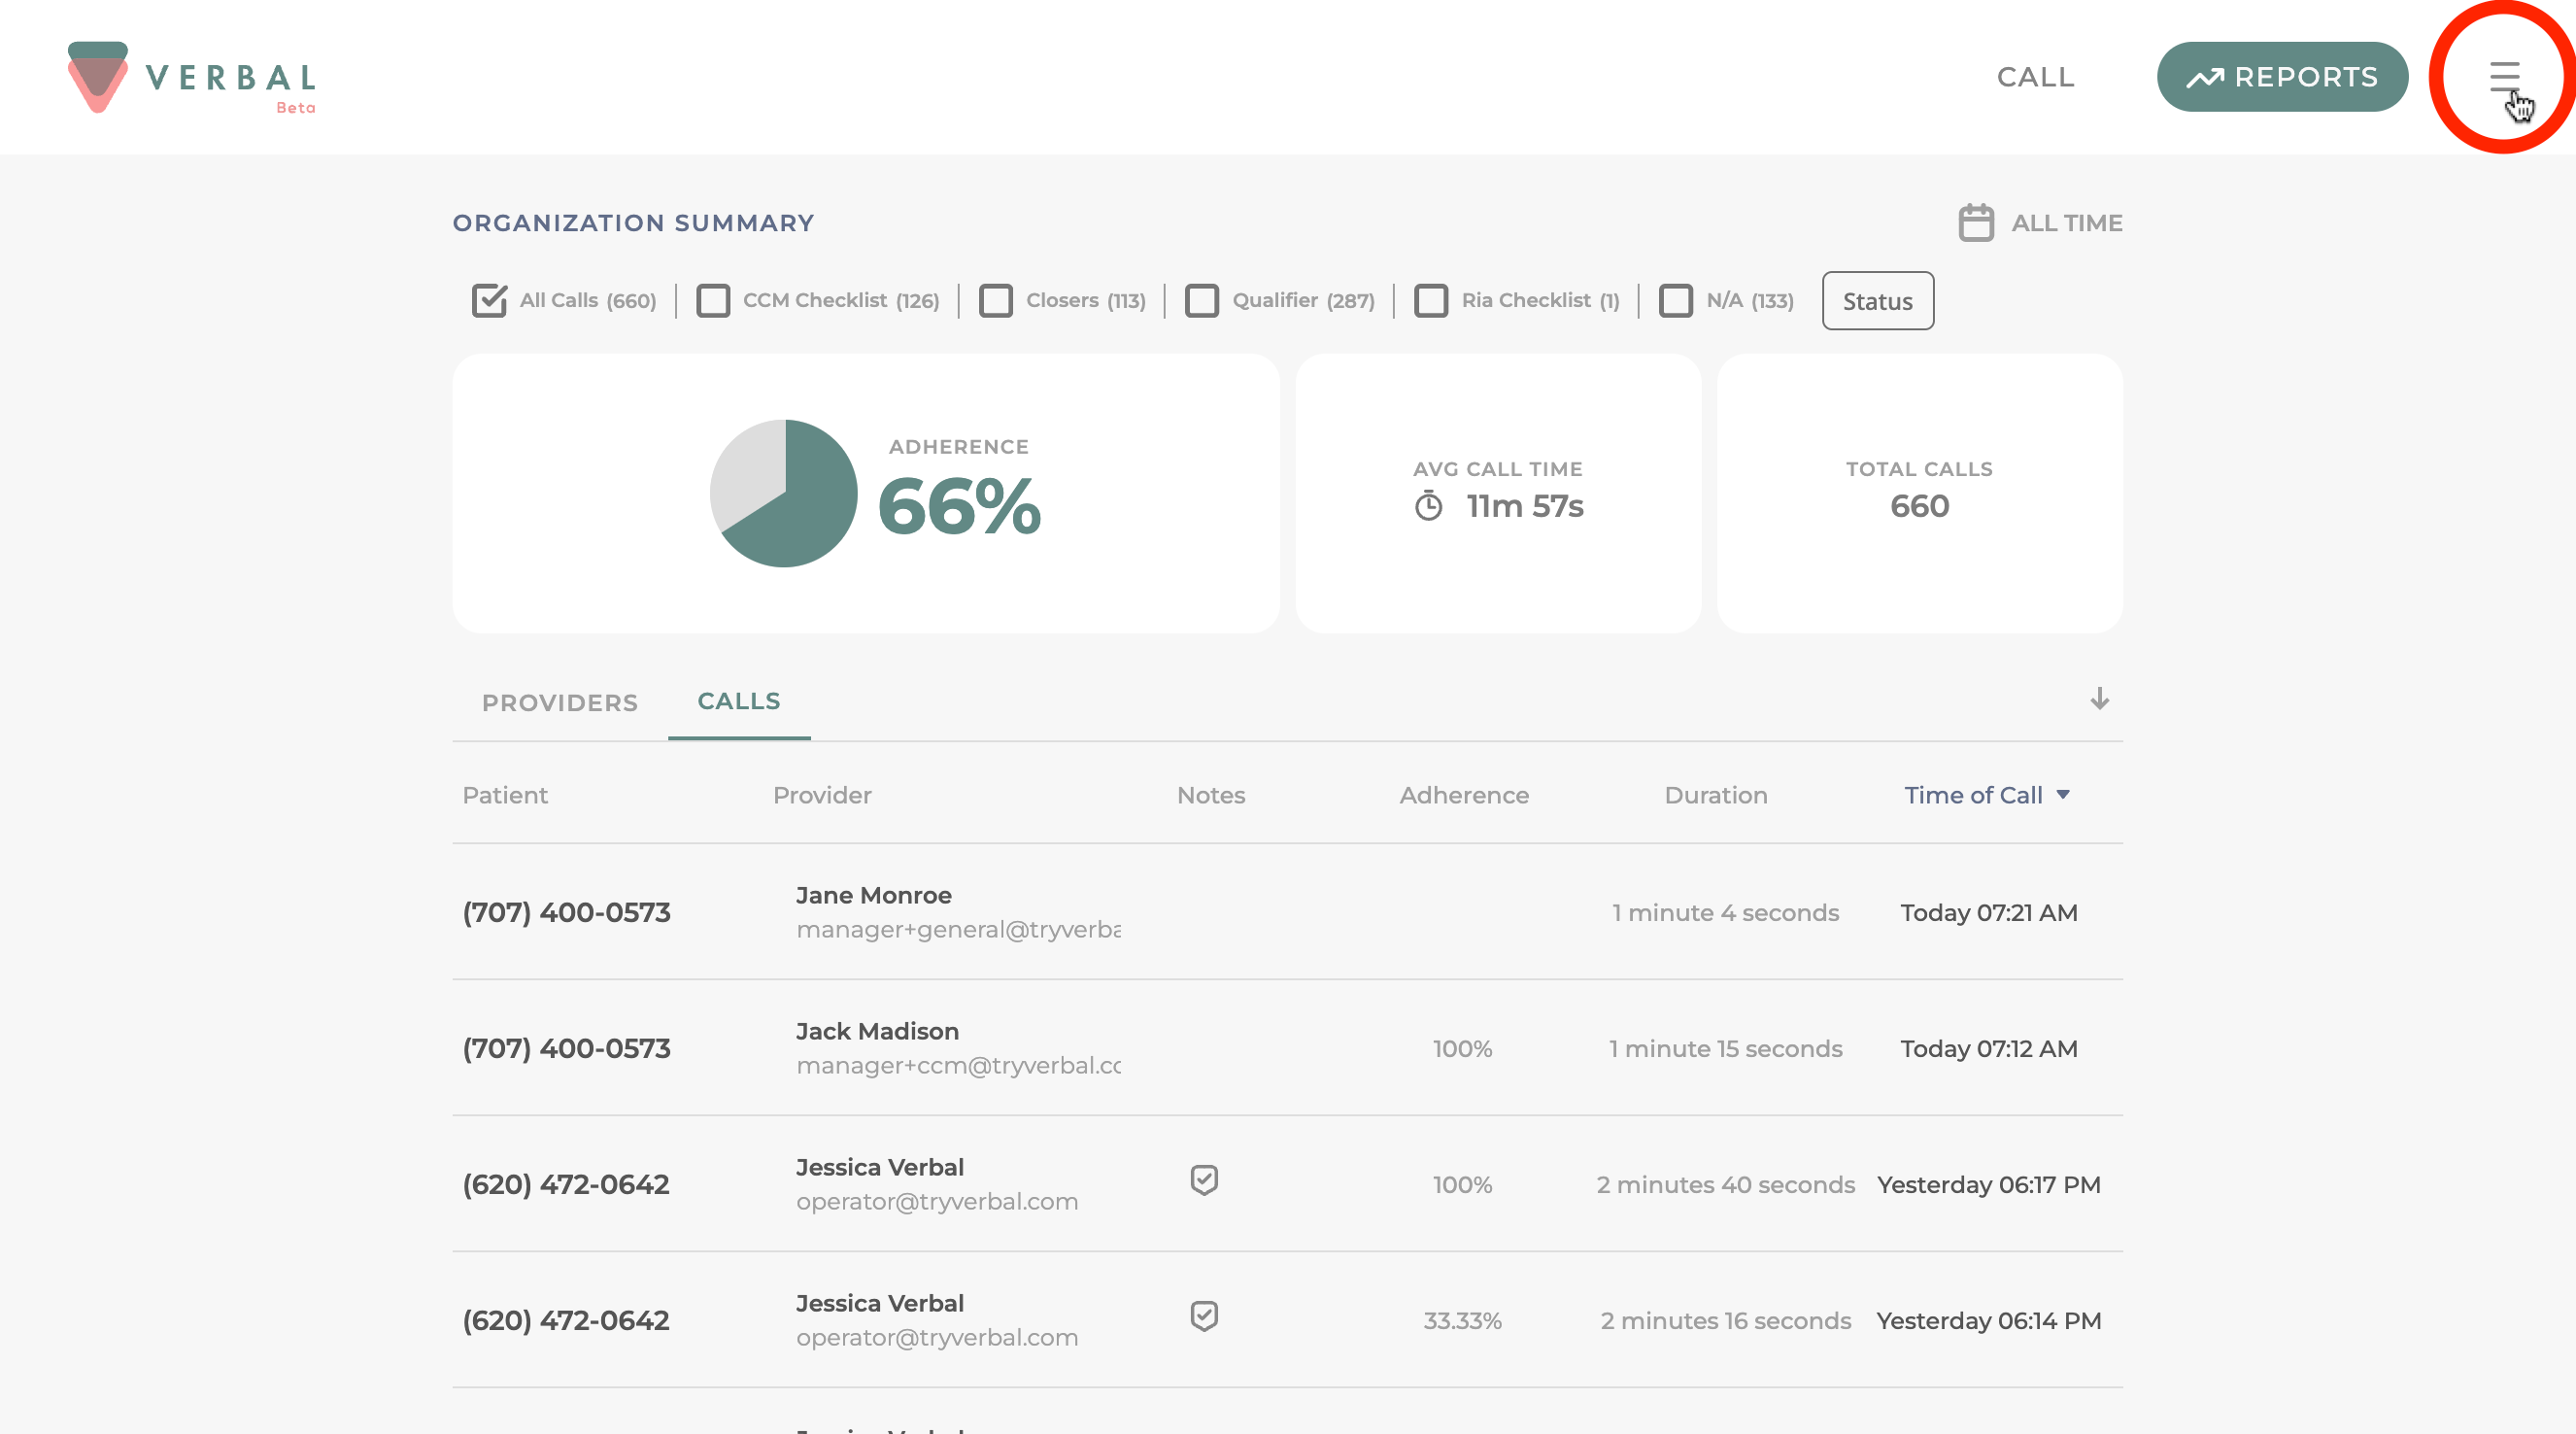
Step 2: Access the Side Menu
- Click the “Menu” (or hamburger) button in the upper right of Verbal
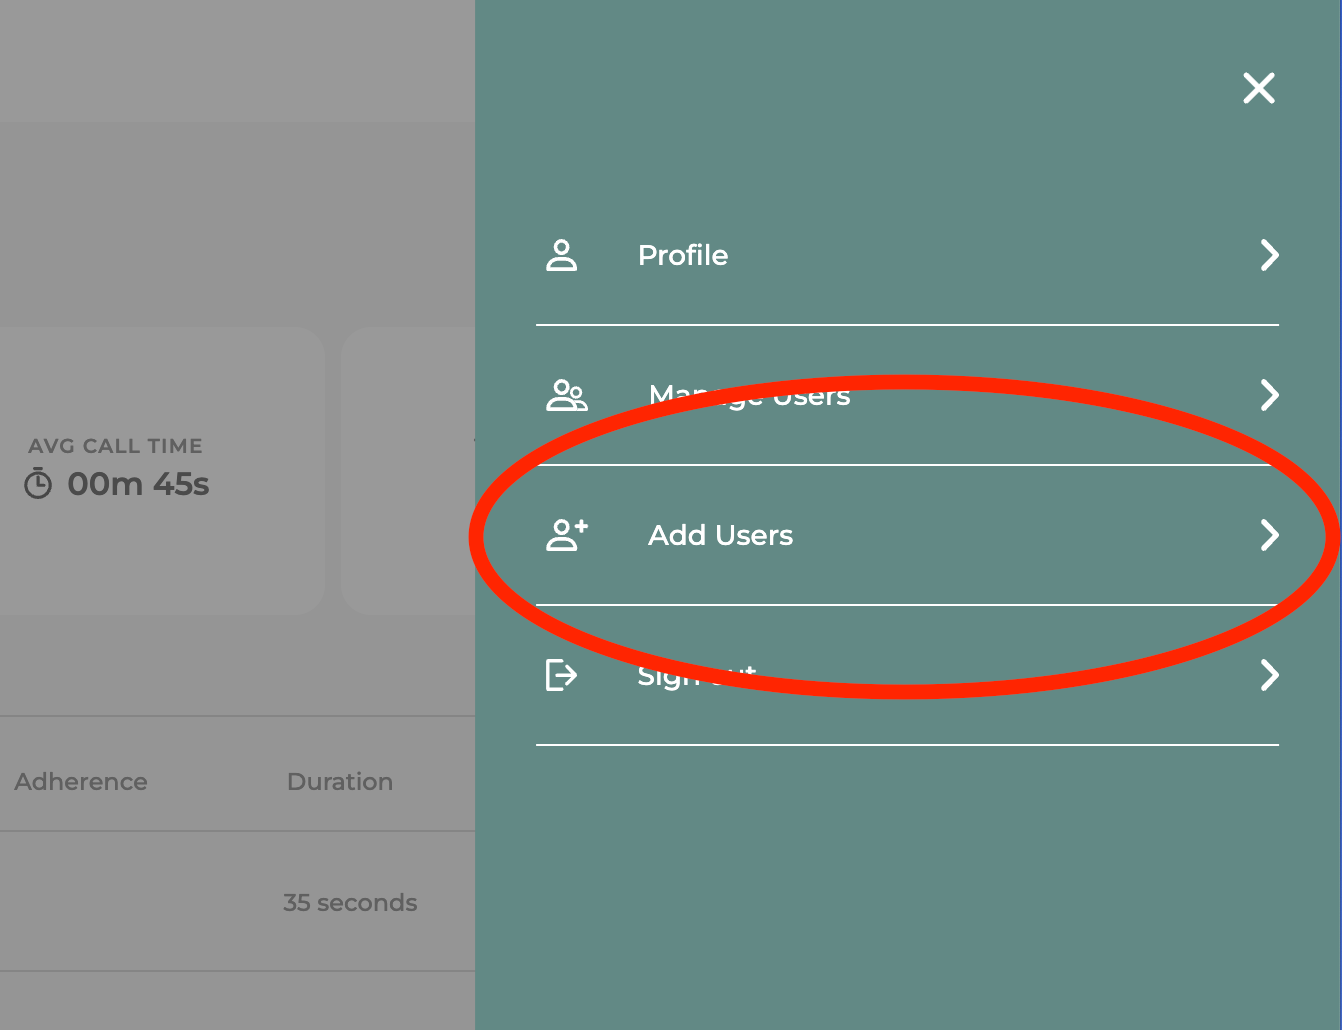
Step 3: Click “Add Users”
- Click “Add Users” from the side menu. If you do not see “Add Users” it means you are signed in with a Provider account.
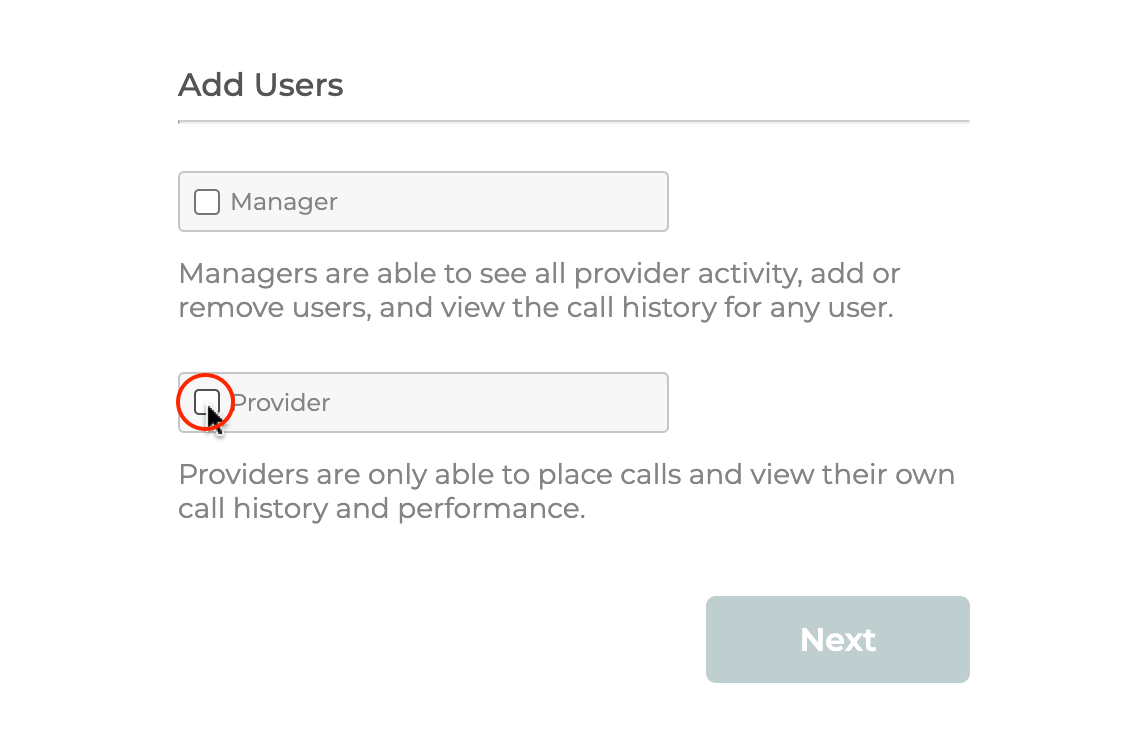
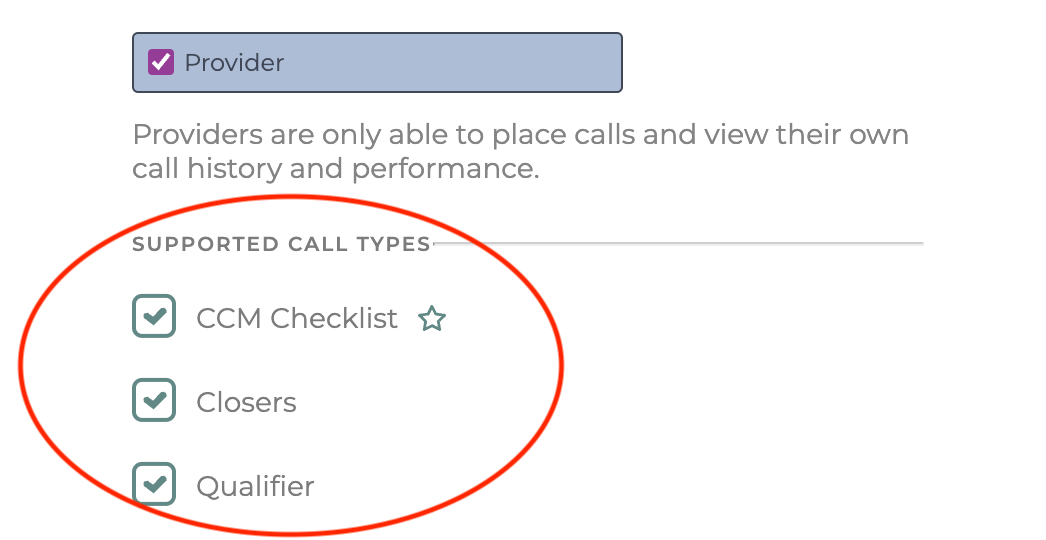
Step 3: Choose Provider as User Type
- Click the checkbox next to “Provider”
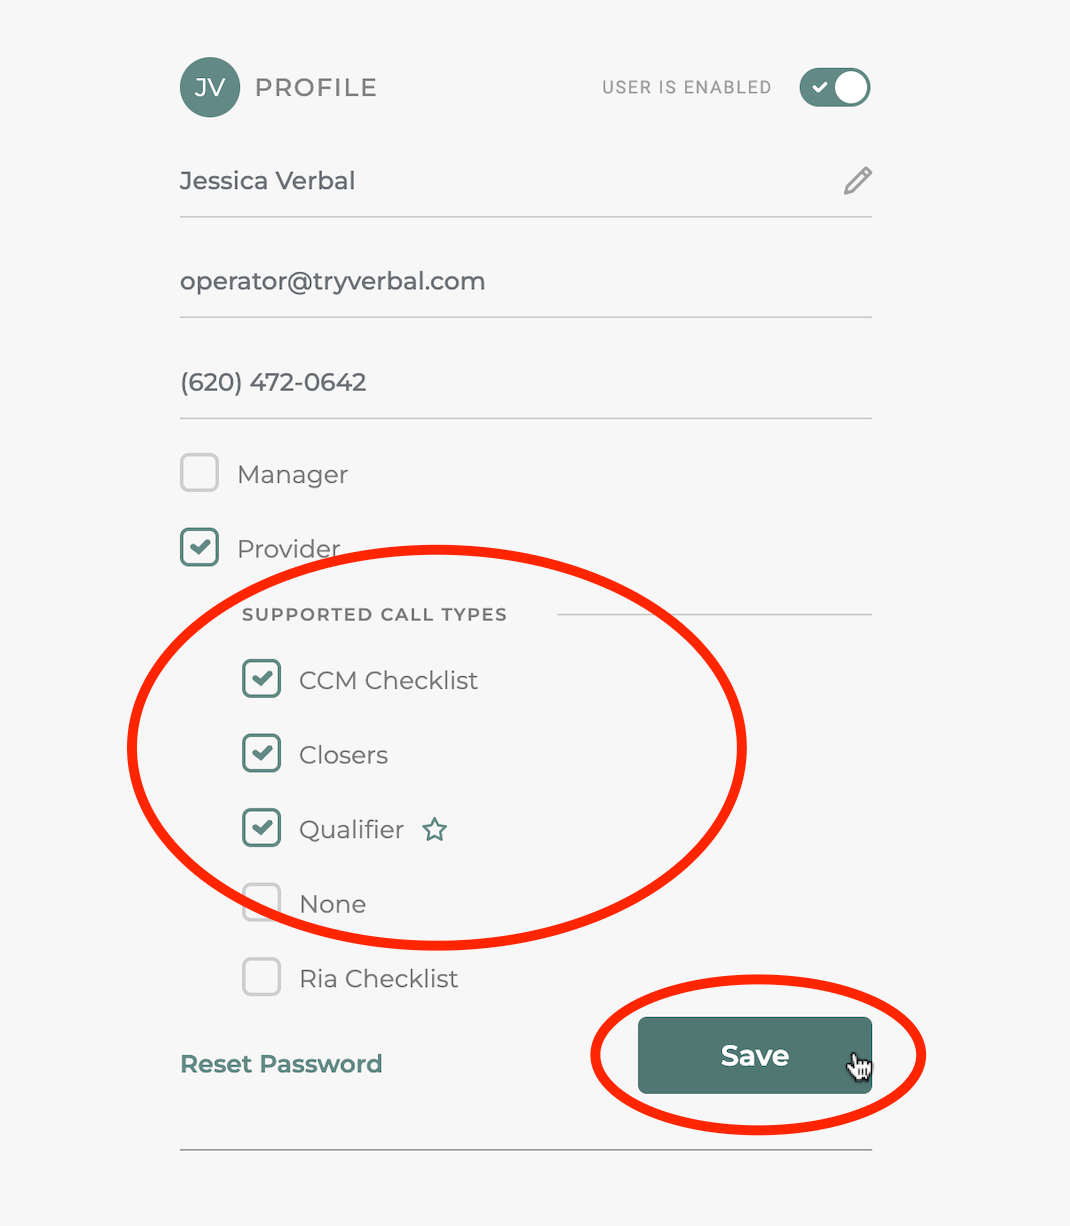
Step 4: Select Supported Call Types
Once you select “Provider” - you will see options for supported call type appear below.
- Check all supported call types you wish to include for the provider(s) you are inviting.
Once you select more than one call types - you will see a star icon appear next to one. When you roll over the others, a button will appear saying “Make Primary”. This indicates the primary or default call type. Meaning, if the call type is not known for some reason, calls will default to this type. This should be set as the call type the provider most usually handles.
Step 4: Change the primary call type for the provider(s) you are inviting.
- Click “Make Primary”

- Click “Next”
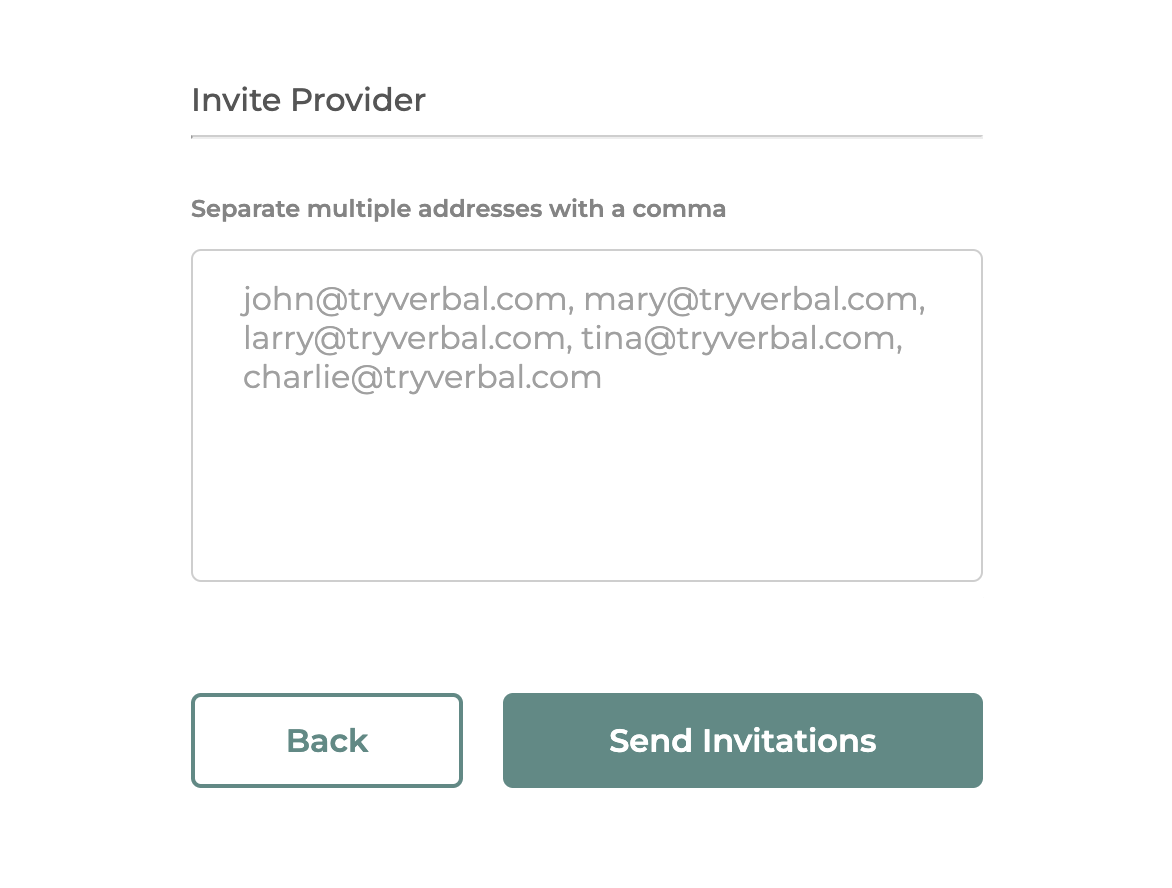
Step 5: Add Email Addresses
- Add email addresses in the field provided.
- Use a comma to separate multiple email addresses.
Step 6: Send Invitations
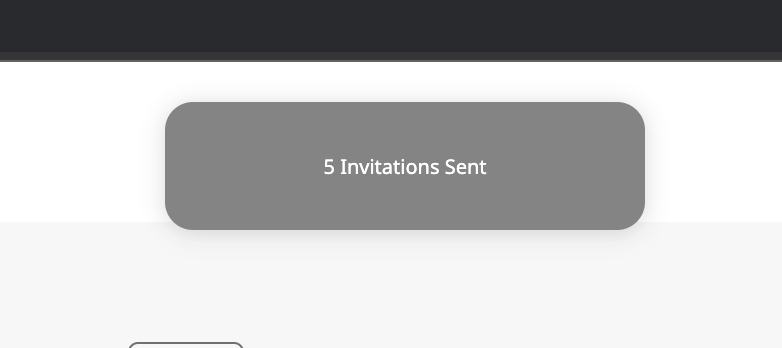
- Click the button “Send Invitations”
You will see a confirmation message popup. If there are any issues sending these emails, it will display an error message here instead.
Step 7: Change these settings for existing providers
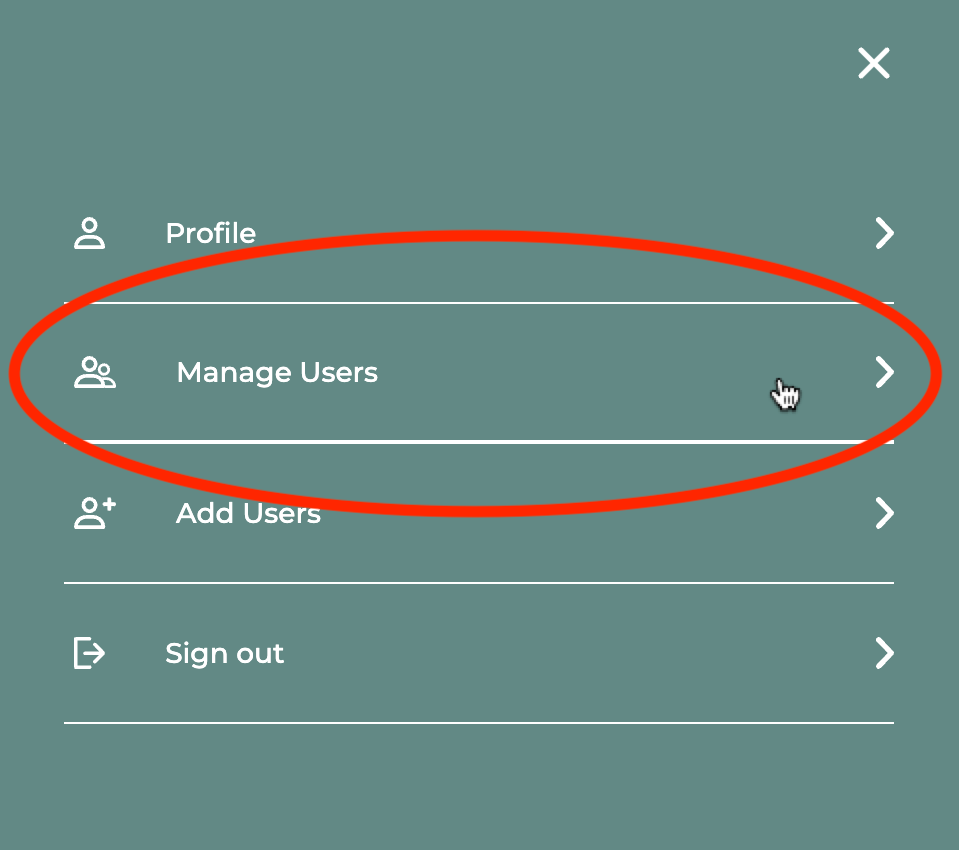
- Click the “Menu” (or hamburger) button in the upper right of Verbal
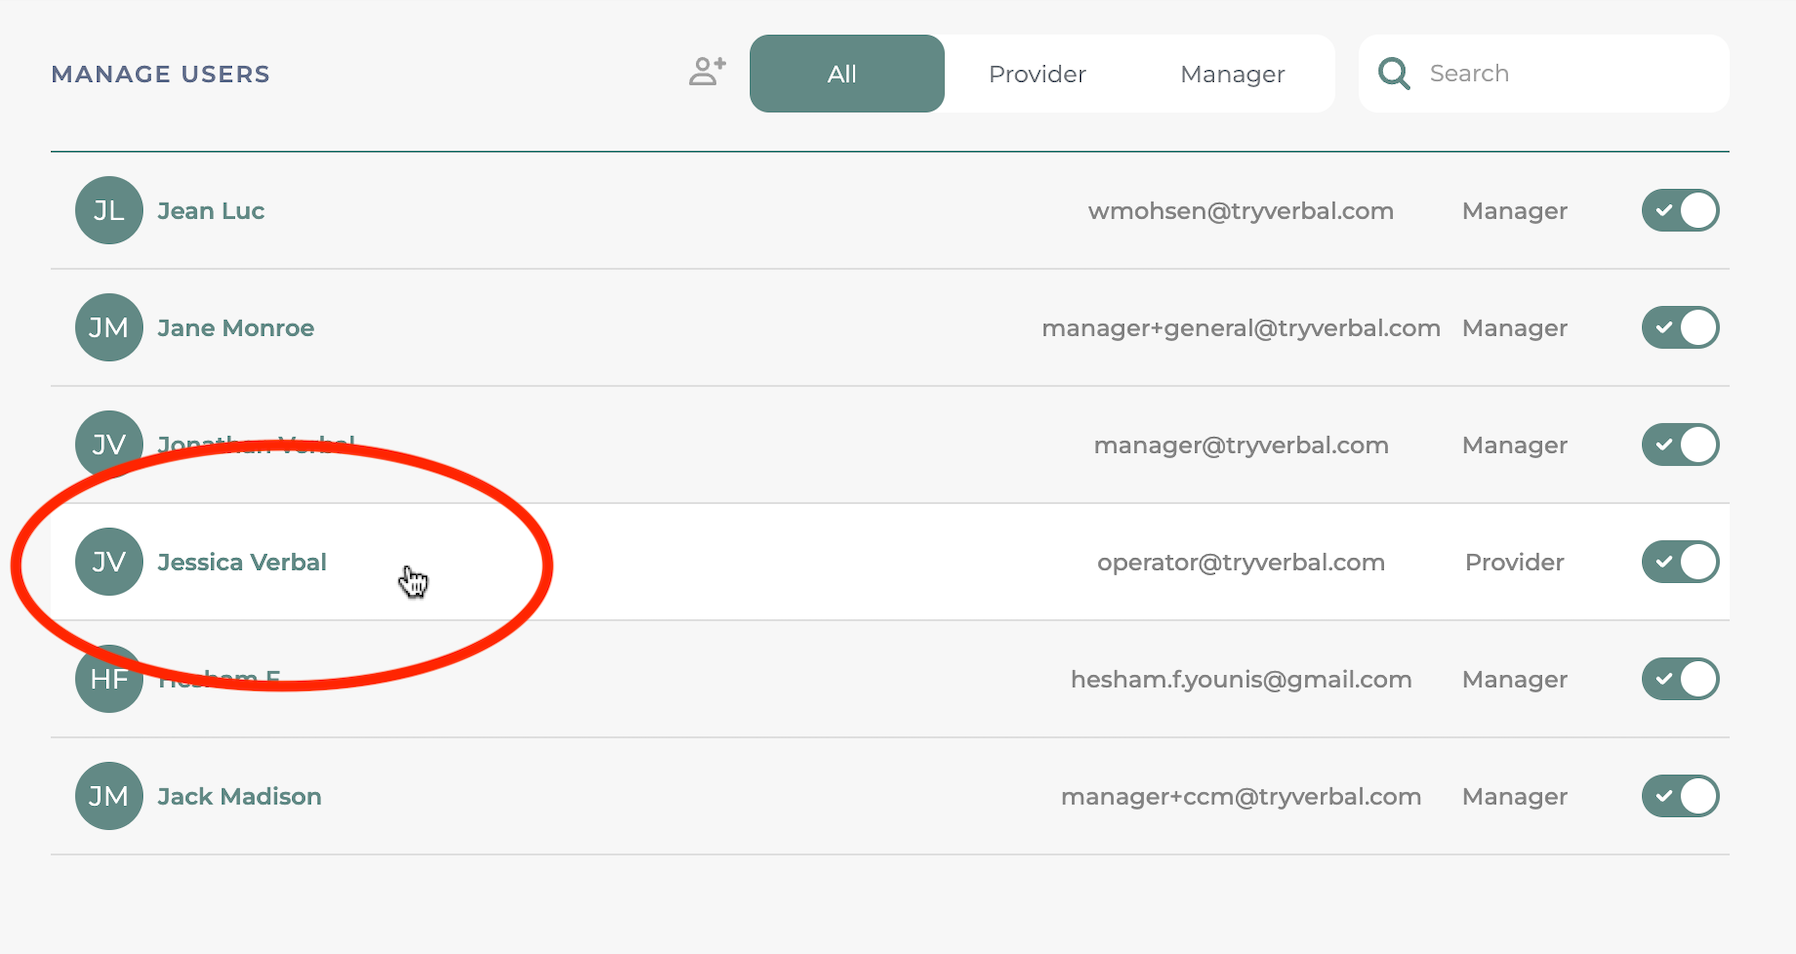
- Click “Manage Users”
- Click on any individual provider from the user list.
- Change the user’s settings - see step 4
- Click “Save”