Verbal Support
Annotating calls
During calls, Verbal detects checklist items/actions and updates the provider’s adherence in real-time. In the case that items are missed, the provider can provide input to correct or annotate these. This improves their adherence and, in some cases, retrains the model. We call this making “notes”.
Step 1: Go to a call after it has completed
- Visit the page of any call, either directly after a call has ended or by returning to a previous one
To return to a previous call:
- Click “Reports” in the main navigation
- Click the “Calls” tab at the top of the reports table
- Click on any call listed within the reports table.
Step 2: Review the checklist
In the middle (or left side), there is a column labeled “Checklist”.Note: Some call-types do not have associated checklists, if you do not see one, this may be the case.
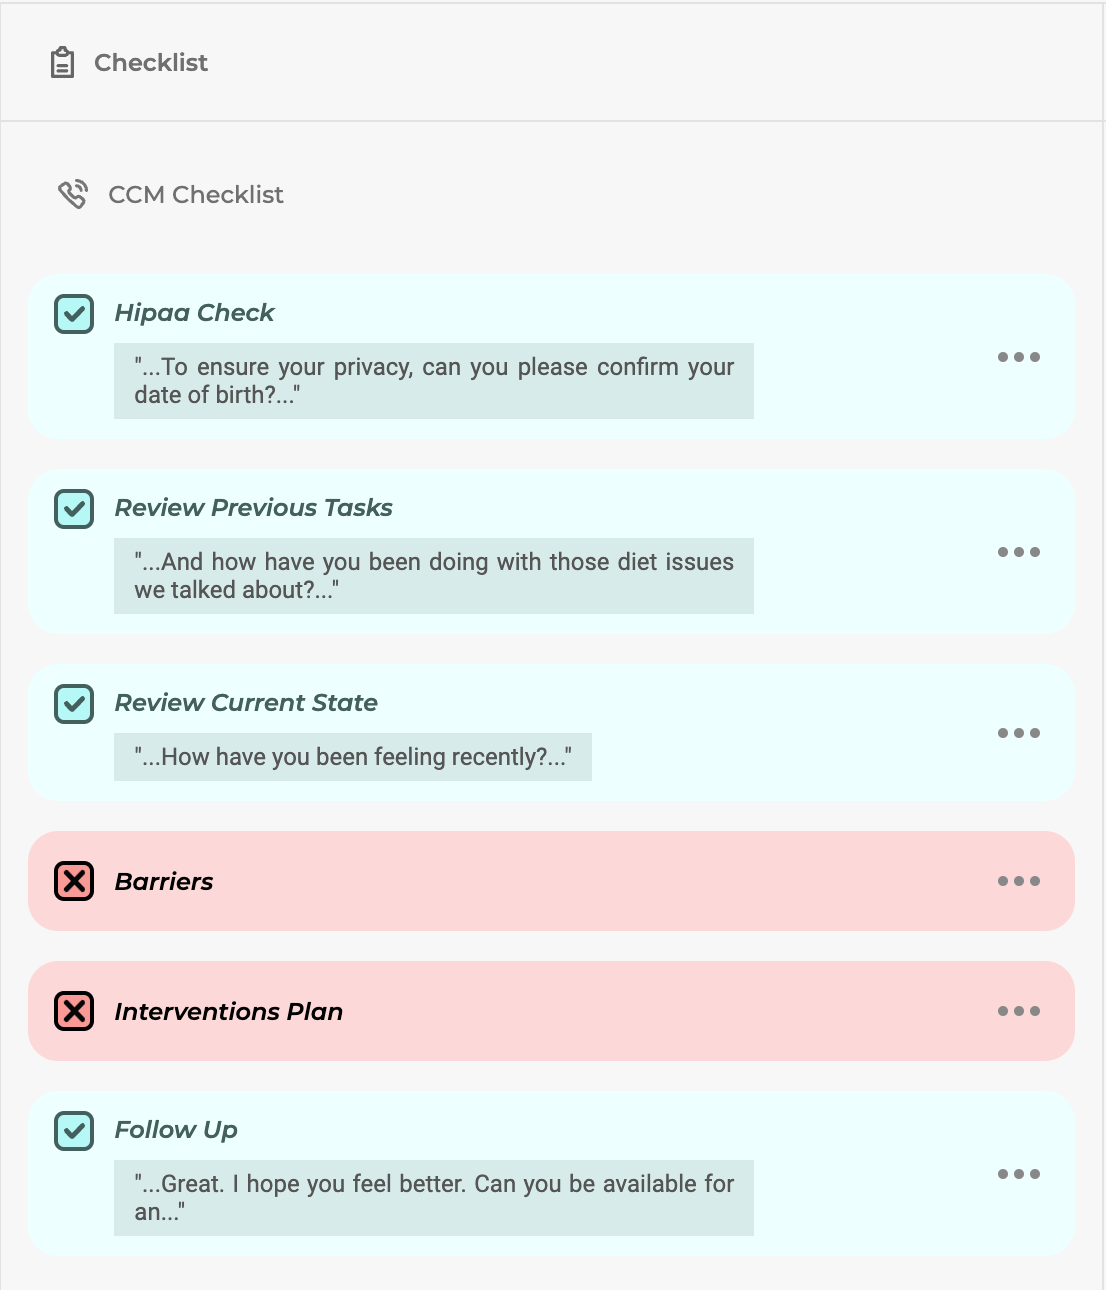
Step 3: Dispute an incomplete checklist item
Incomplete checklist items will display in red but the providers may correct them.
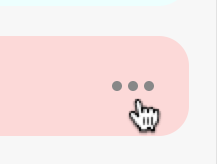
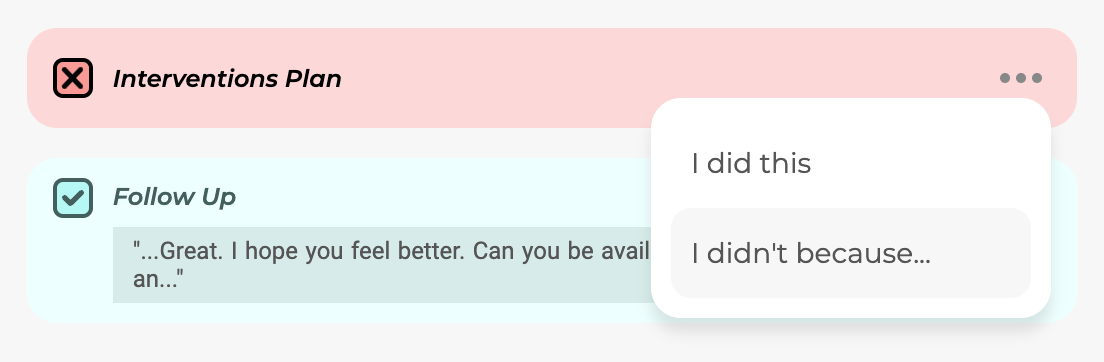
- Click on the 3 dots button on a red checklist item.
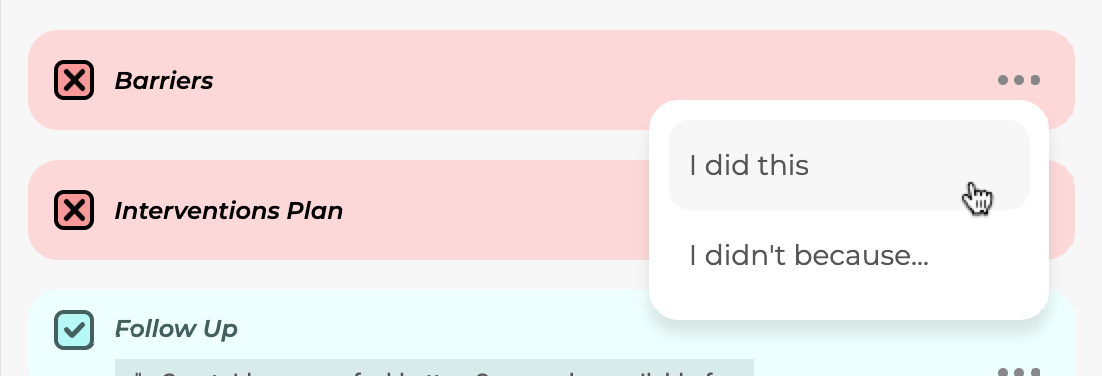
There are two ways to dispute/annotate checklist items;
- “I did this” - for cases in which the provider believes they did complete the checklist item.
- “I didn’t because…” - for cases in which the provider believes there was an appropriate reason to not perform the checklist item.
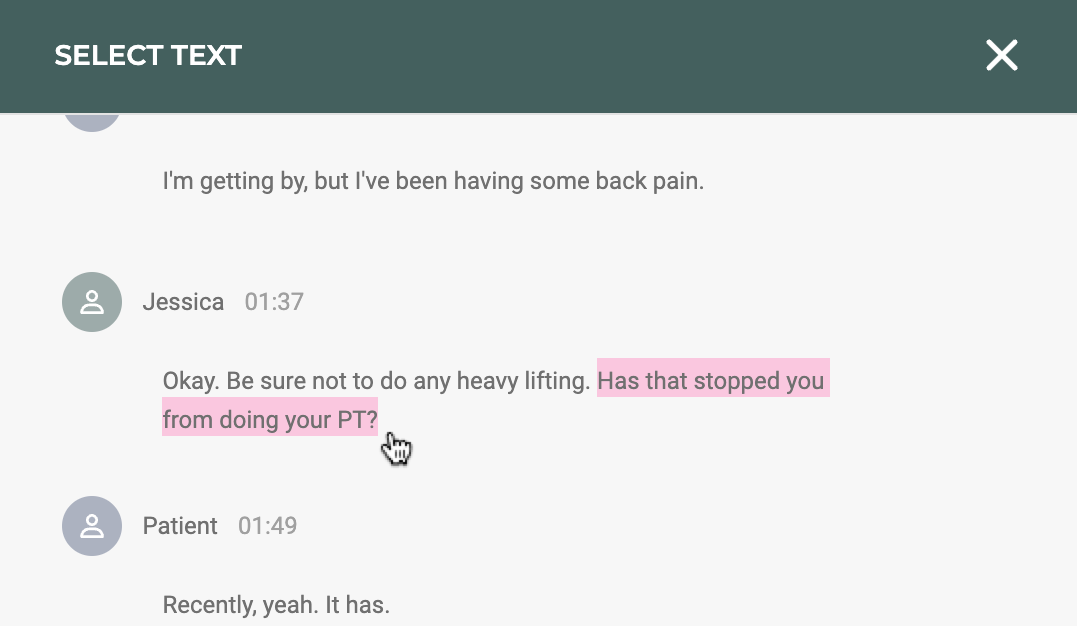
Step 4A: I did this
- Click “I did this”
On the right side, in the transcript, you will see the words “Select Text” appear. This is where the provider is meant to select the part of the conversation in which they completed that checklist item.
- Click and drag to select the appropriate text.
- Review the confirmation and click “Confirm”
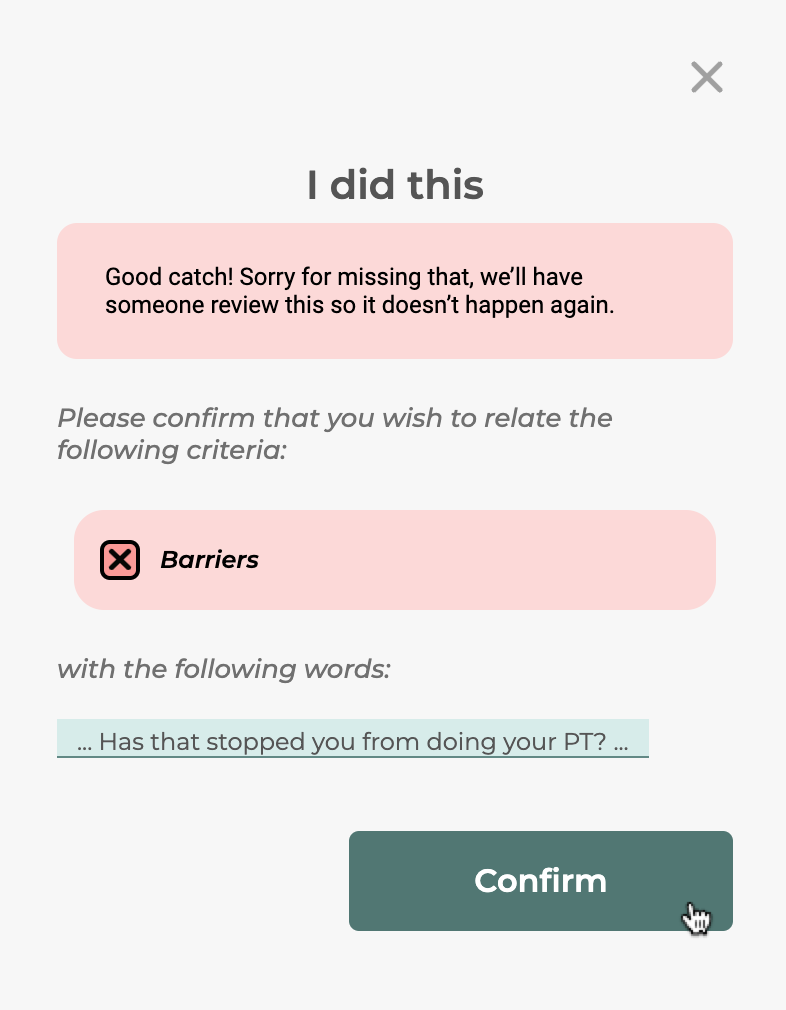
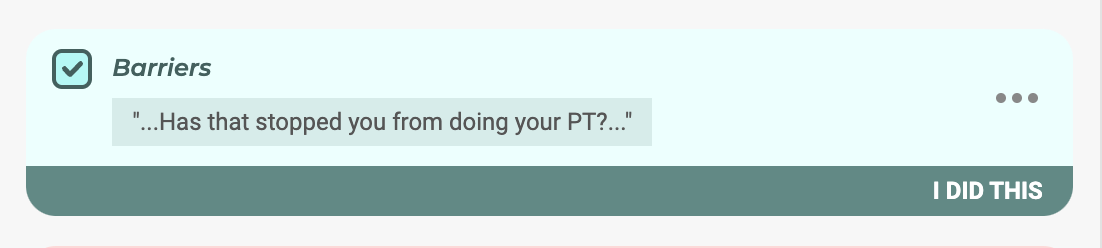
The adherence will increase as a result of this correction. This annotation will be recorded so the managers can see that this provider is engaging with Verbal. The checklist item will also display differently.
Step 4B: I didn’t because…
- Click “I didn’t because…”
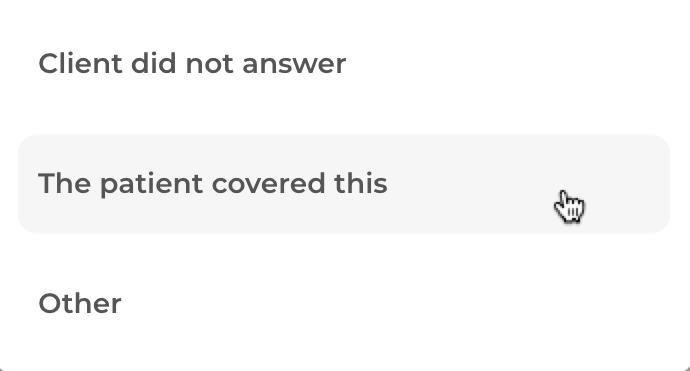
This will present a screen with a dropdown menu.
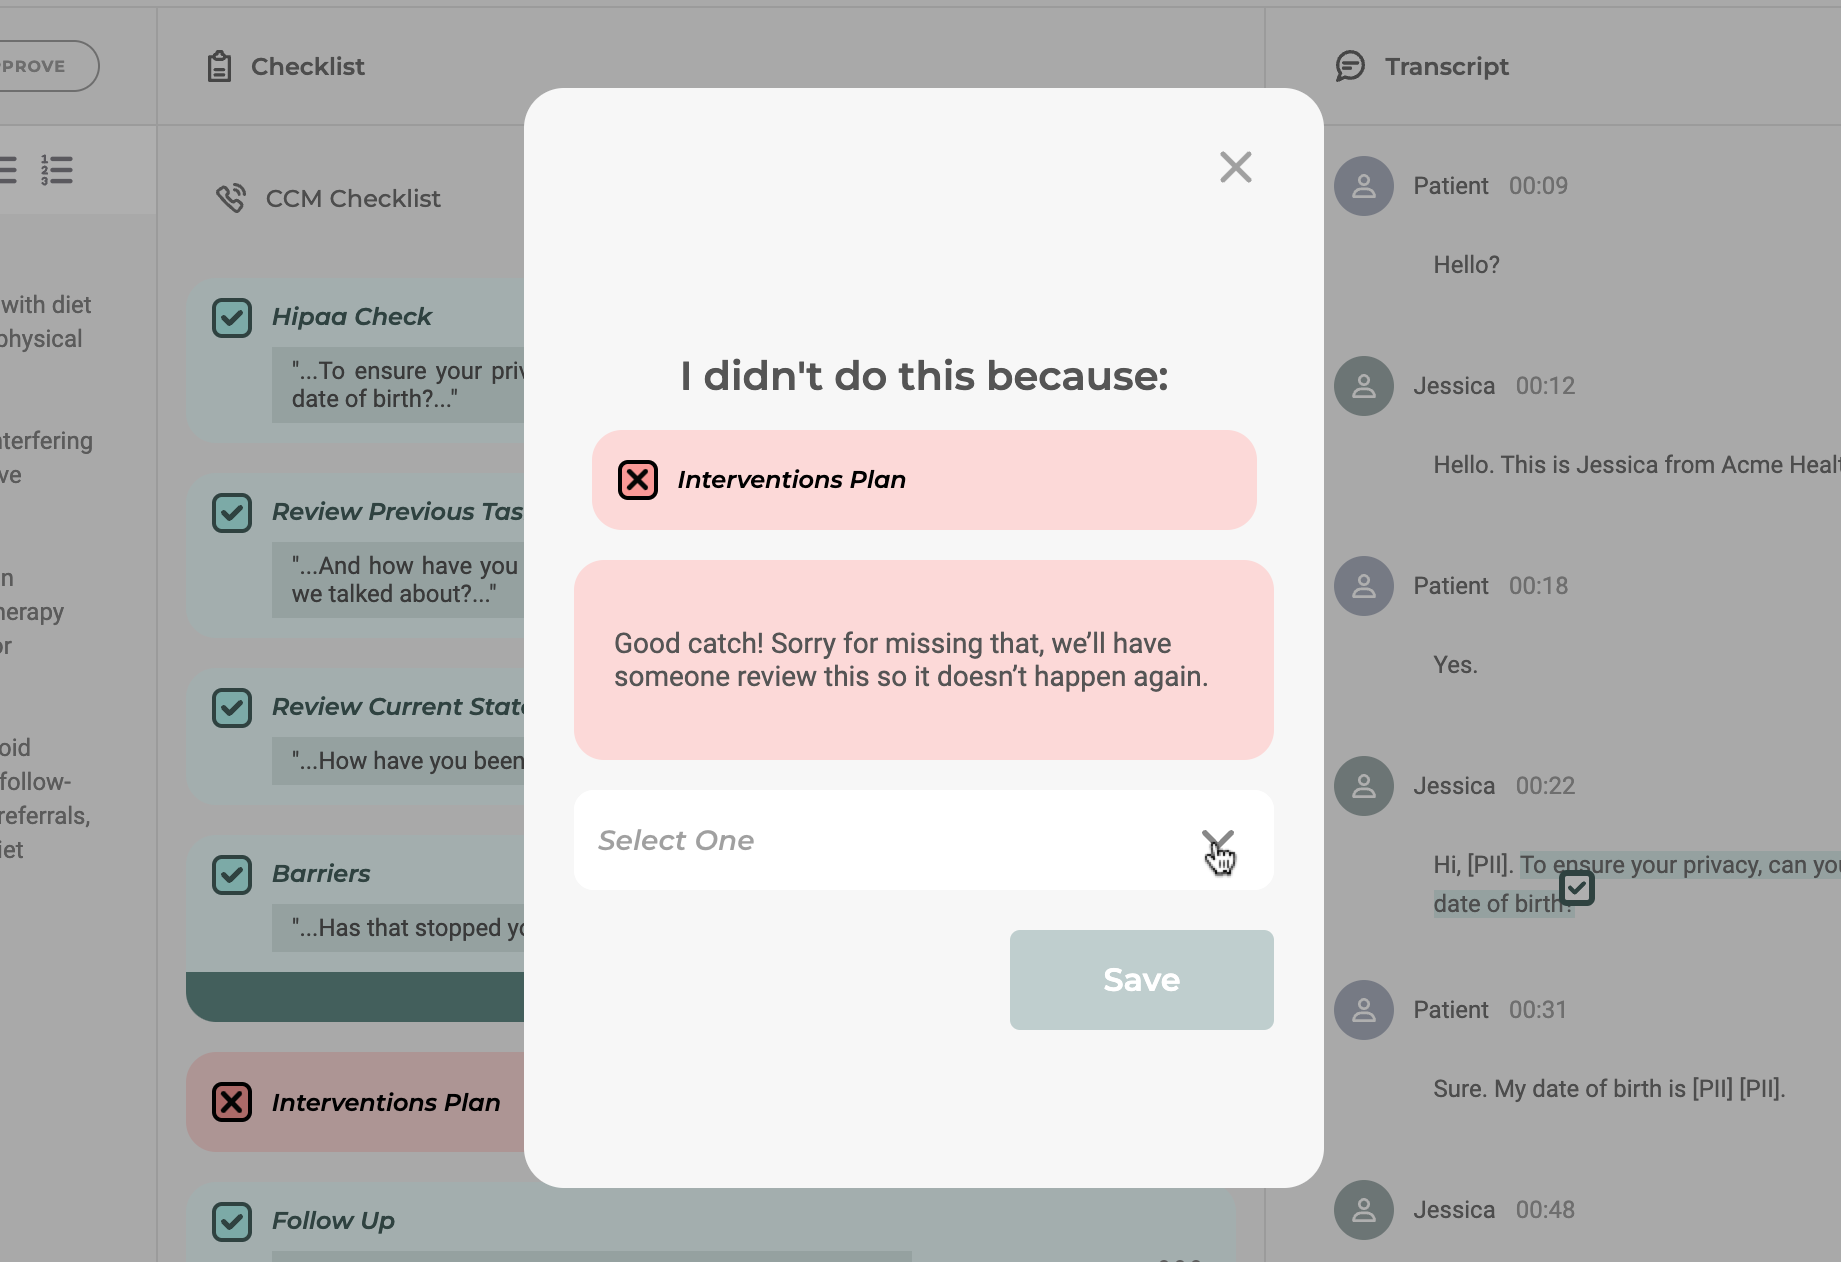
- Select an option from the dropdown menu
The adherence will increase as a result of this correction. This annotation will be recorded so the managers can see that this provider is engaging with Verbal. The checklist item will also display differently.

Step 5: Edit a previously made note
In case of an error, annotations can be re-done.
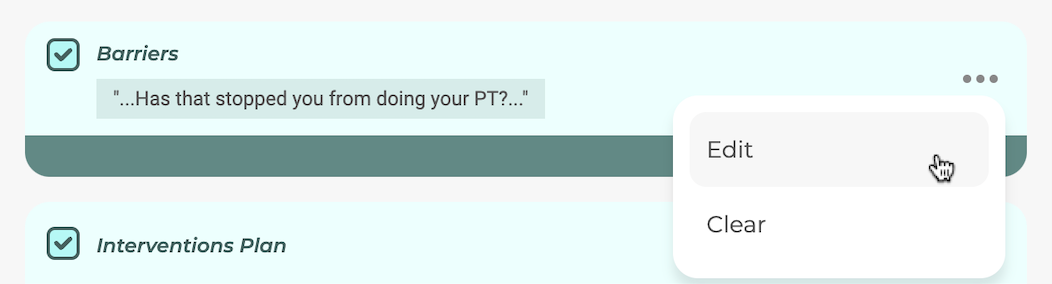
- Click on the 3 dots on a previously annotated checklist item.
- Click “Edit”
This will repeat either step 4A or 4B so that the note can be corrected.
Step 6: Clear a previously made note
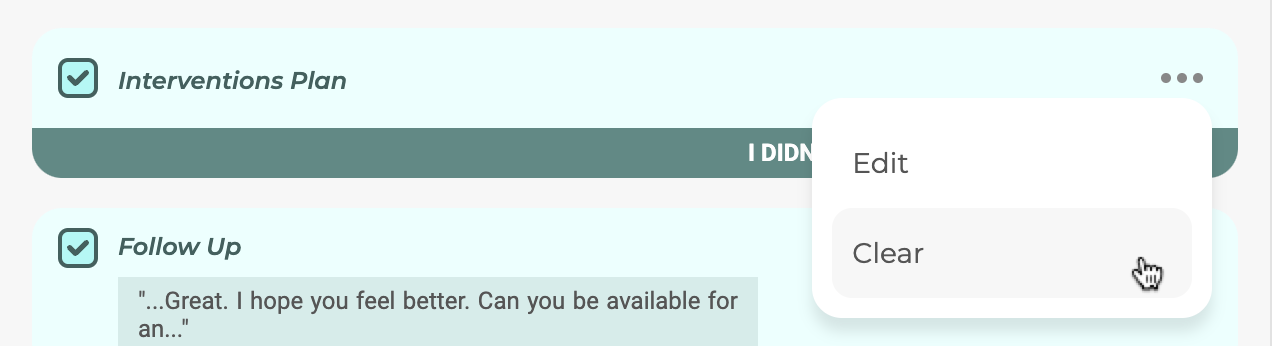
- Click on the 3 dots on a previously annotated checklist item.
- Click “Clear”
Step 7: Edit or Clear a completed checklist item
Users can also provide feedback on successfully detected checklist items.
- Click the 3 dots on a green checklist item
- Click “Edit” to indicate that this checklist item was completed somewhere else in the conversation. This will repeat step 4A.
- Click “Clear” to indicate that this checklist item was not completed (false positive). This will convert the item to an incomplete (red) checklist item and reduce the adherence for this call.